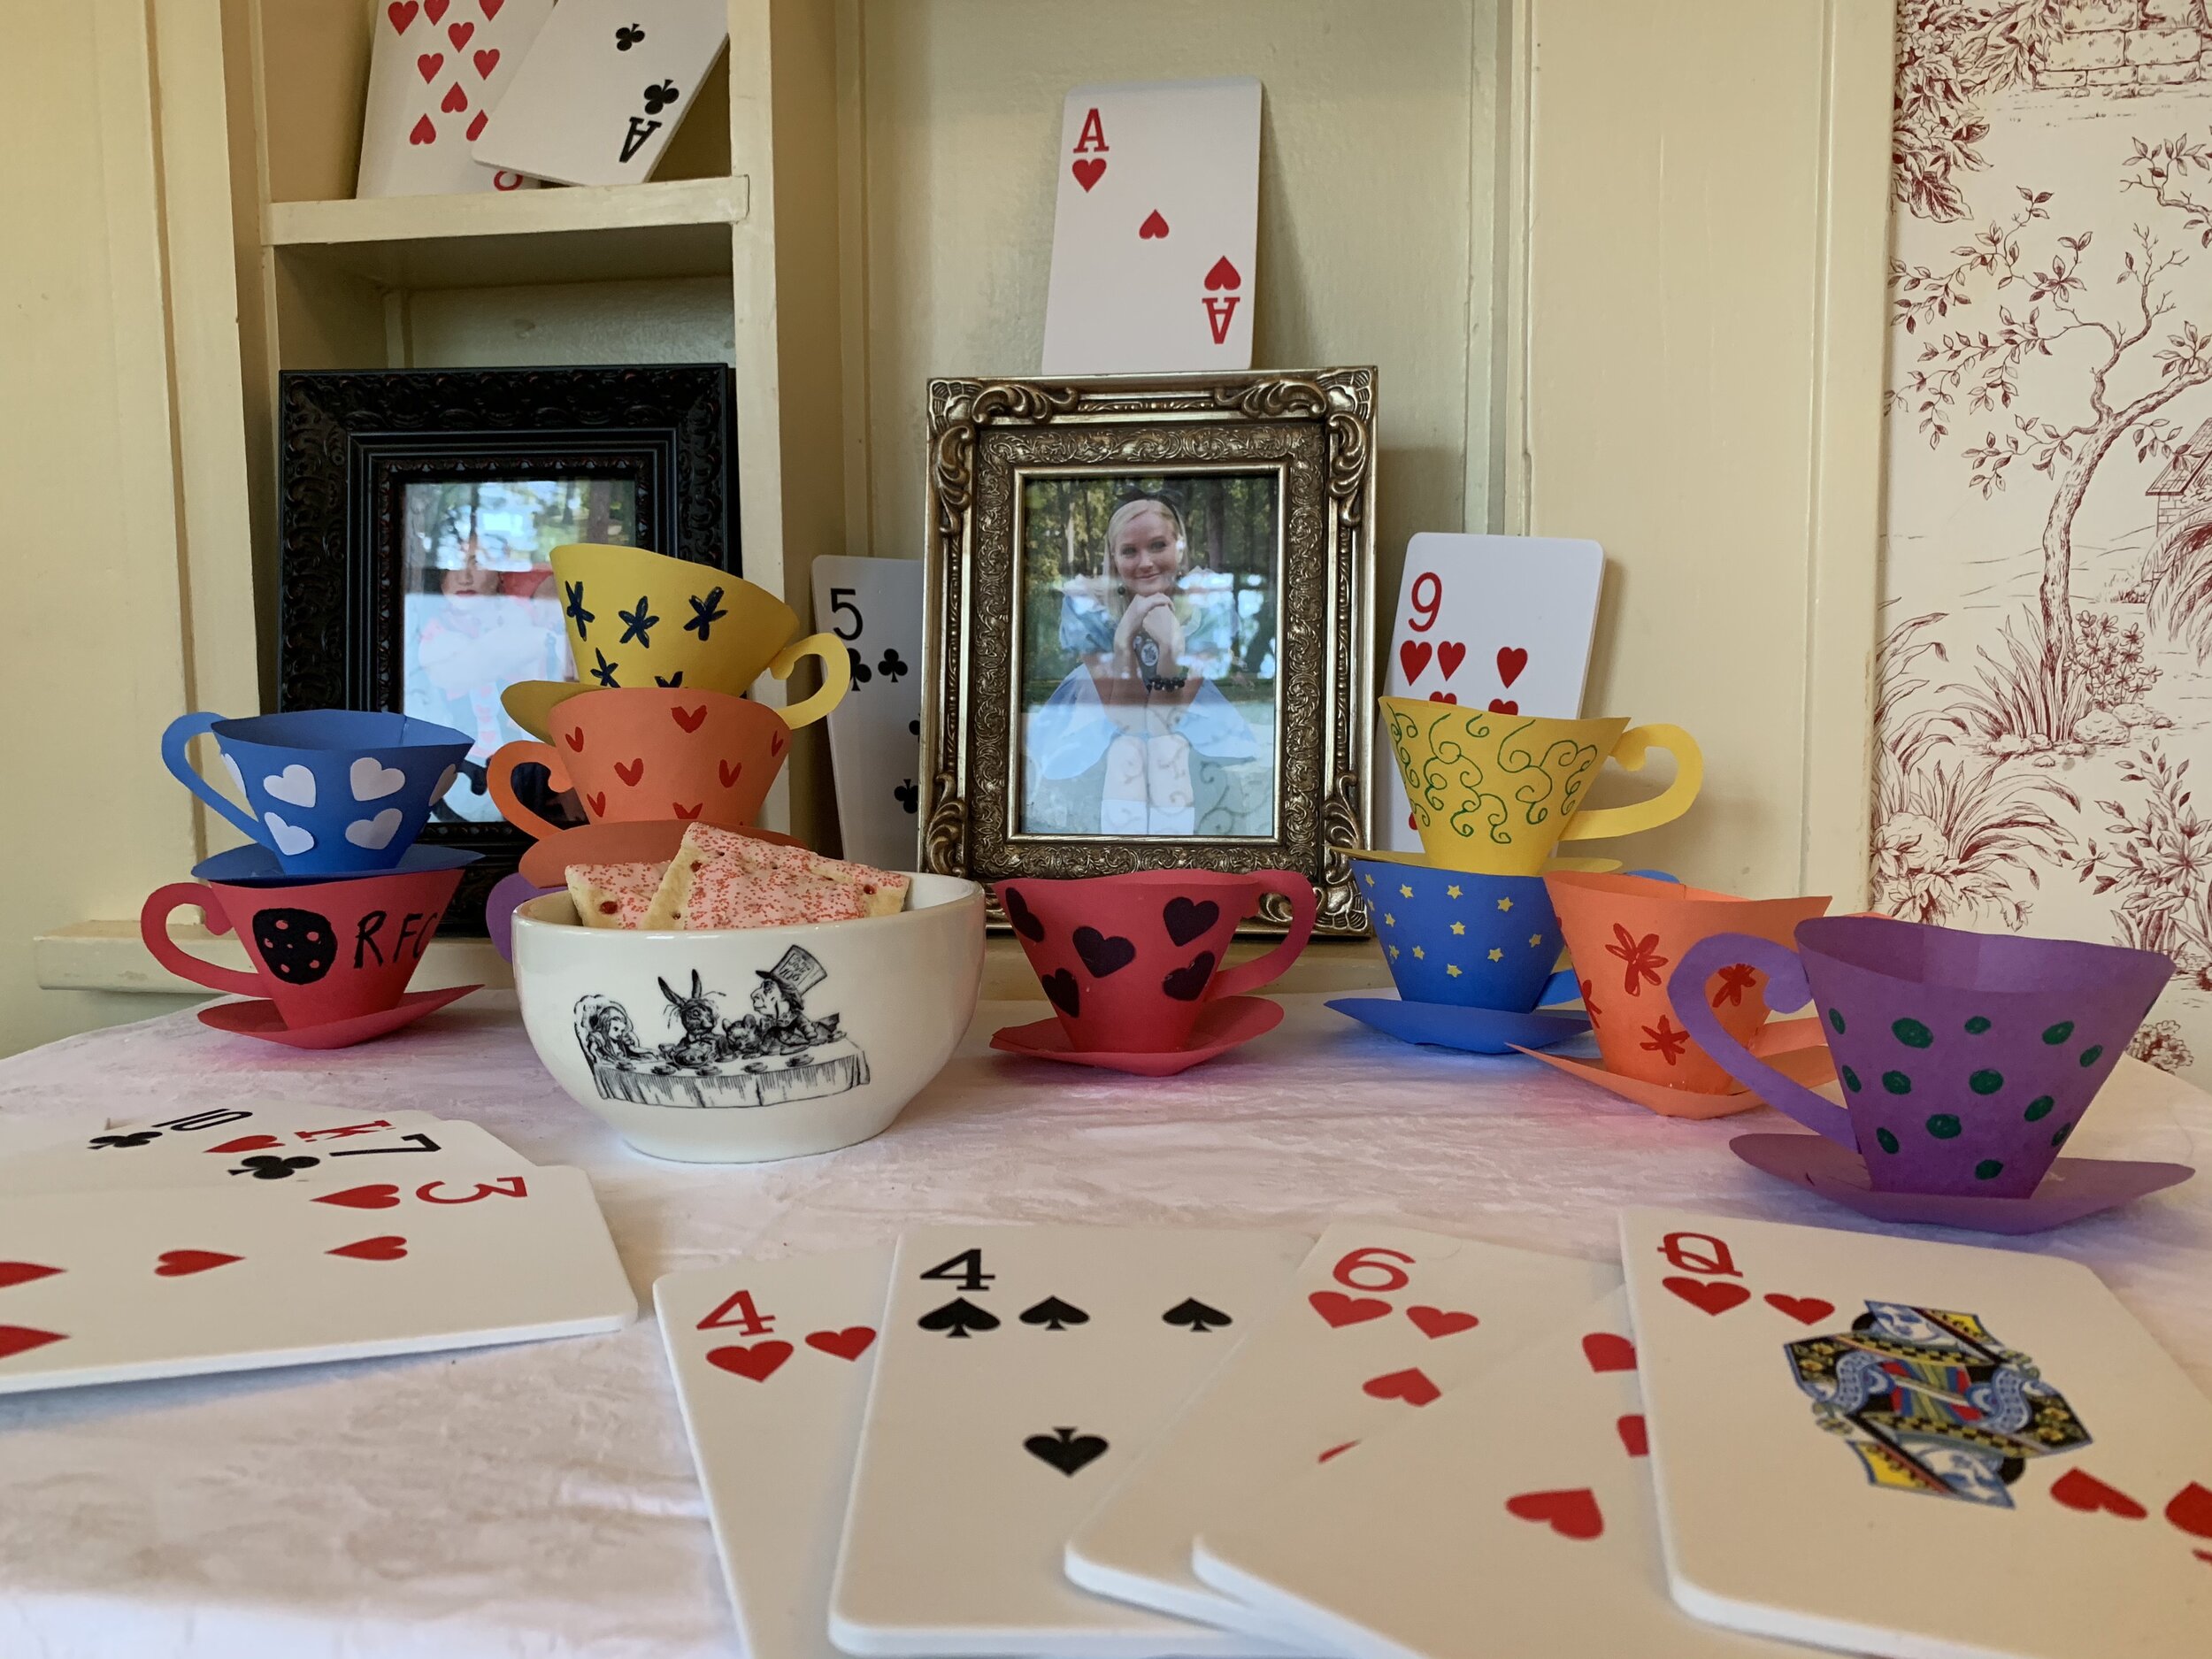
Social distancing making you feel MAD as a HATTER?! Well check out this week's Family Matinee recommendation and kids’ activity you can enjoy from home — Alice in Wonderland! Our Marketing Director Angie loves the 1951 animated classic, but if you prefer live action, check out Tim Burton’s version! Comment in the comments below with your email address to be entered into this week's Alice in Wonderland prize pack drawing — you can tell us which film version of Alice you like best OR your favorite part of the films!
VIEWING
Streaming available on Disney+ with a subscription
Available to rent or purchase from iTunes, Amazon Prime or other streaming platforms ($2.99)
DISCUSS AFTER VIEWING
What is your favorite part of Alice’s adventure in Wonderland and why?
If you could escape to Wonderland, what would you do differently from Alice?
Which character helped Alice the most on her adventure and how did they help?
READ THE BOOK
Audible has released some free audiobook stories — click here to check out Lewis Carroll’s Alice’s in Adventures in Wonderland, read by actress Scarlett Johansson!
HANDS-ON ACTIVITY: MAD HATTER’S TEACUPS
Share your photos with your completed teacups on Facebook or Instagram (and tag RFC’s Facebook or Instagram), or email them to robinsonfilmcenter@gmail.com — we want to share your creativity with the RFC audience!
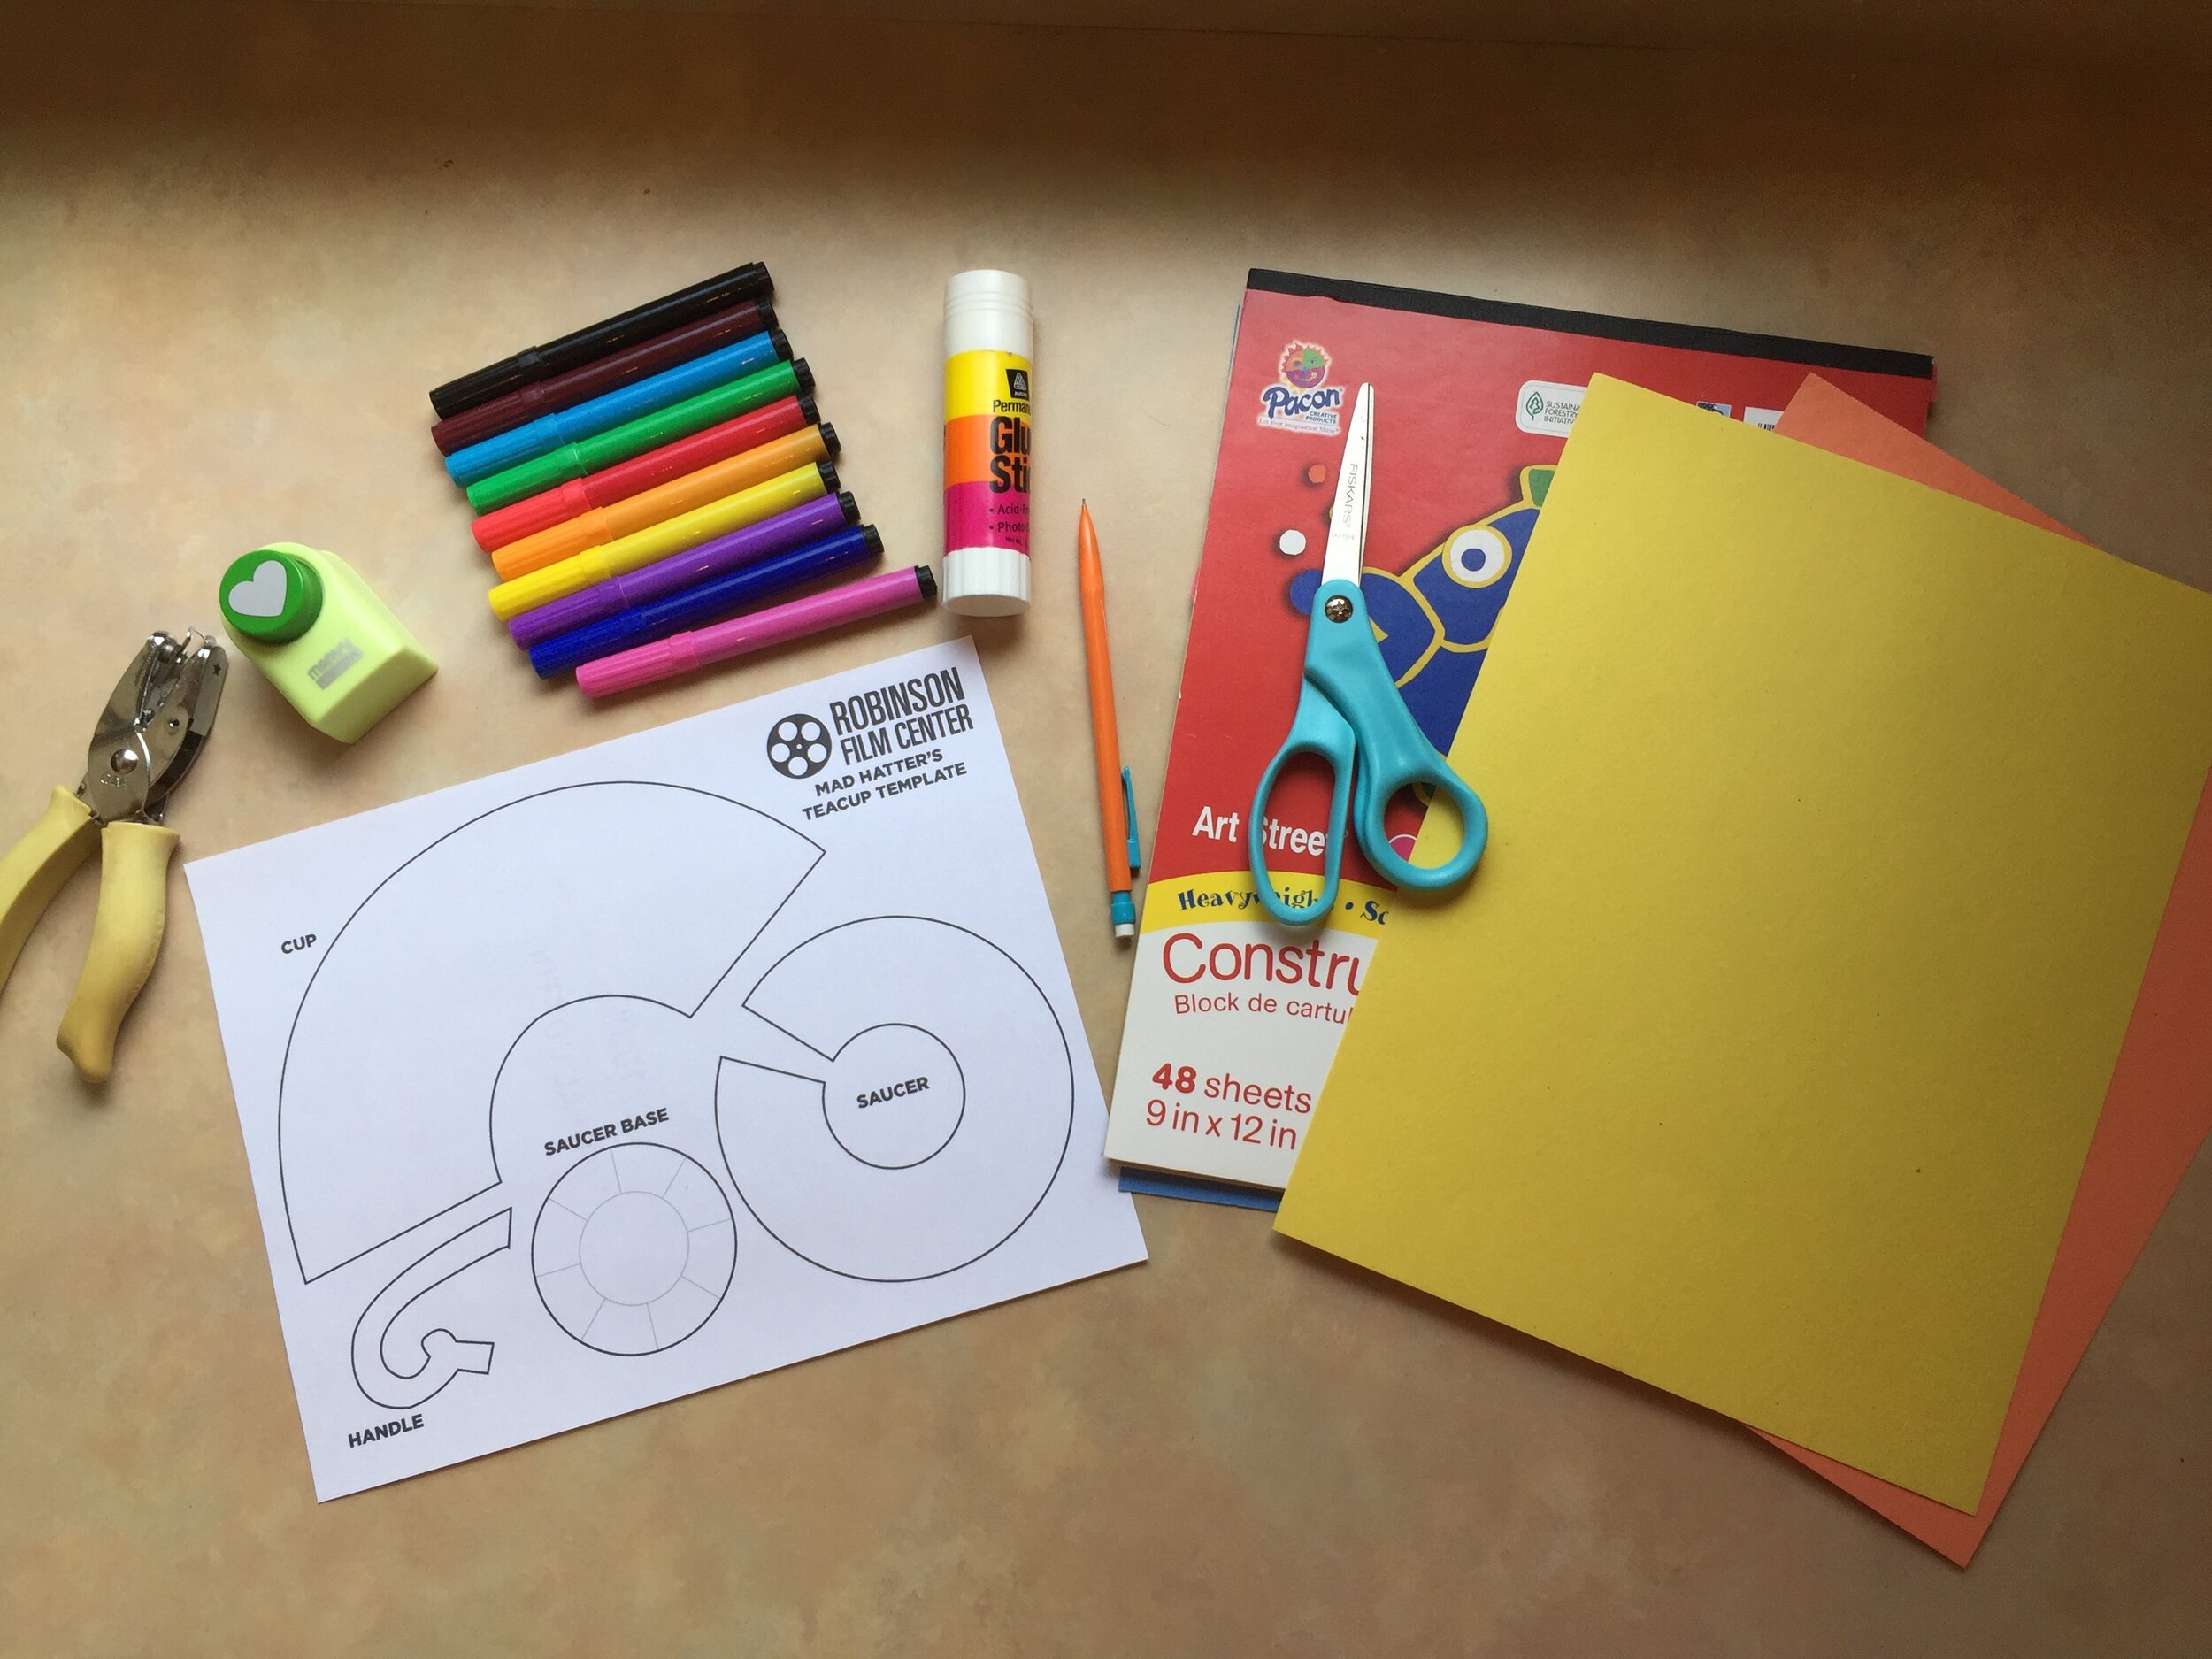
SUPPLIES NEEDED:
RFC’s Mad Hatter Teacup Printable (click to download and print)
Construction paper, cardstock or regular paper
Scissors
Glue – any type of glue will work
Pencil or pen to trace pattern, if using template for multiple cups
Markers, colors or stickers to decorate (optional)
INSTRUCTIONS — WATCH THE VIDEO FOR DEMONSTRATIONS OF THE STEPS BELOW
Step 1
Download and print your teacup pattern. You can either print it on multiple sheets of paper for multiple cups or just print it once for a template you can trace on multiple sheets of construction or colored paper.
Step 2
Cut out your pieces along the bold black lines. If you’re using the pattern as a template, you’ll cut them out and then trace them on other pieces of colored paper or construction paper.
Step 3
For the base of your teacup (the smaller circle), cut slits along the light grey lines from the outside of the circle all the way to the light grey circle in the center. This will help keep the saucer’s shape.
Step 4
Using whatever glue you have handy, overlap the edges of your cup section and glue together. You can hold the cup together with a clothespin or paper clips while it is drying.
Step 5
Assemble the two pieces of the saucer. You’ll overlap the edges of the large saucer piece and glue together. Then take the saucer base and place on top of the saucer, gluing the circle over the hole in the large saucer piece and gluing down the tabs to make your saucer sturdy.
Step 6
Once the pieces are dry, you’ll glue the cup to your saucer and then add the handle to your cup.
Step 7
Now you’re ready to have a Mad Hatter’s Tea Party! You can also create several cups and have a stacking teacup race!


