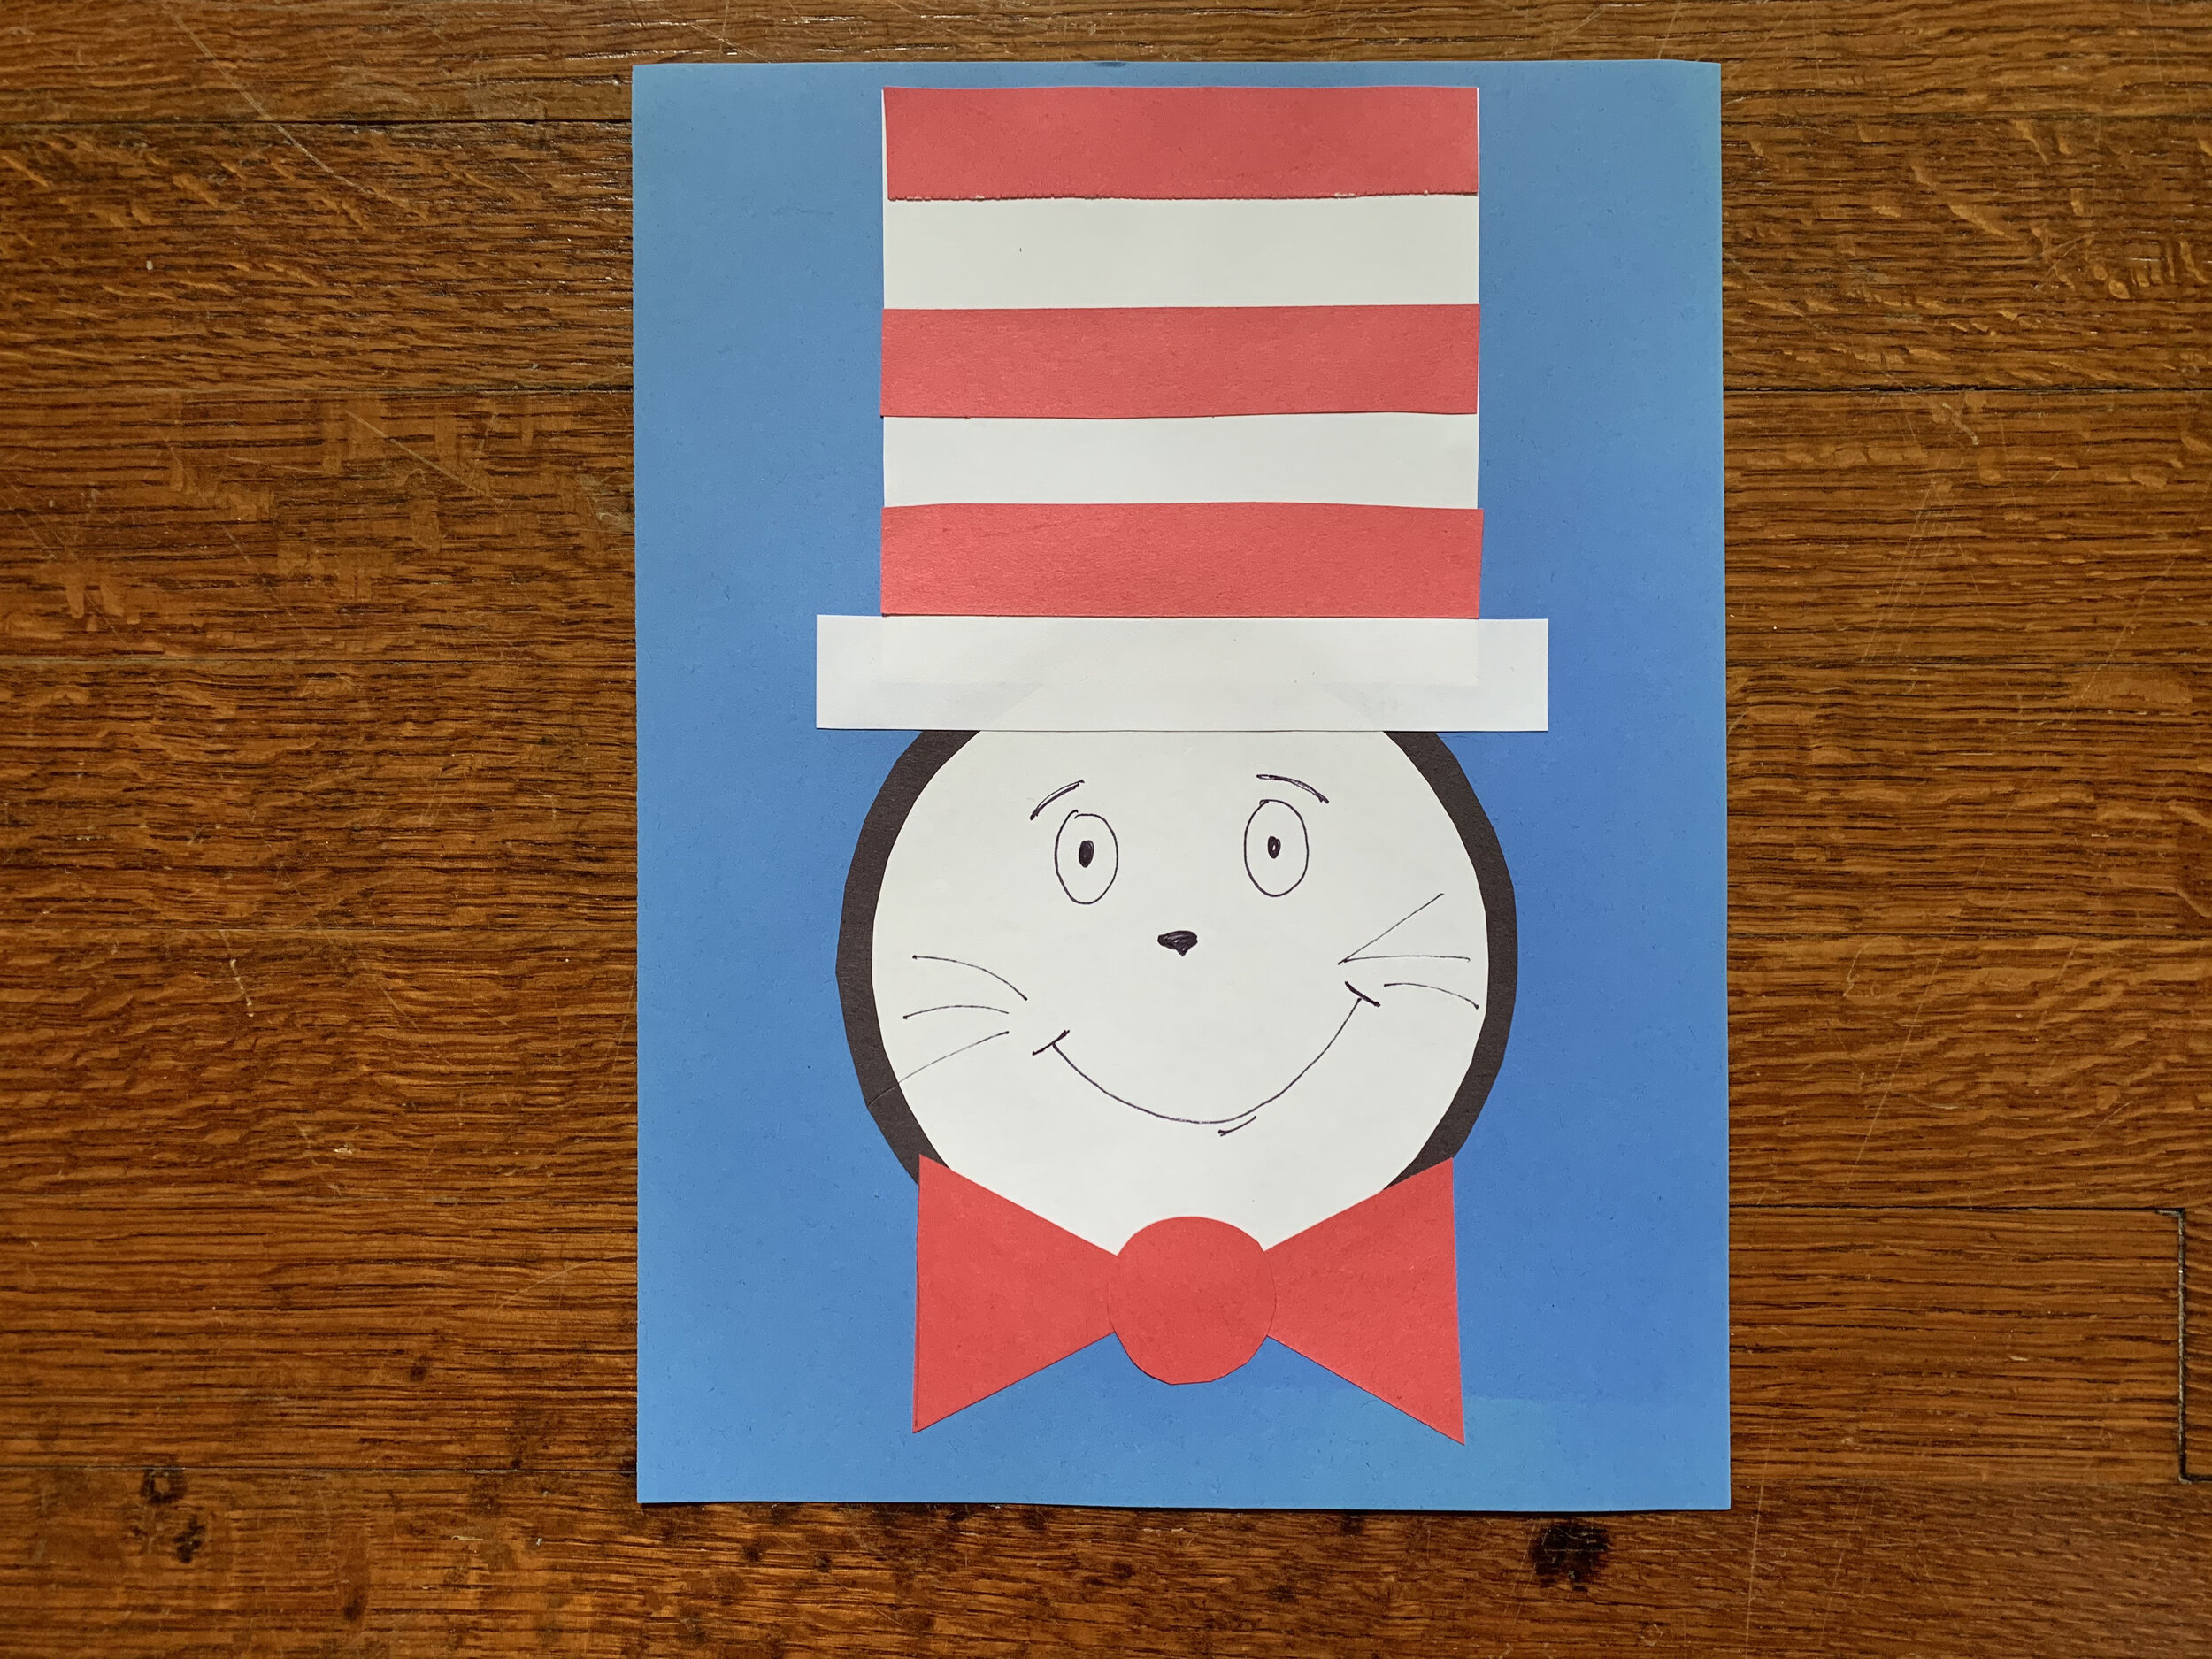
While we’re all at home staying safe and healthy with our families, we want to remind you to have a little fun in between your online school work and remote work, so we’re going to bring you a Family Matinee recommendation each week, a film you can watch at home with the whole family, paired with a fun hands-on activity. The Cat in the Hat, an adaptation of Dr. Seuss’ beloved picture book, is our selection for the week of March 30.
VIEWING
Streaming available on Netflix with subscription
Available to rent or purchase from iTunes or Amazon Prime
DISCUSS AFTER VIEWING
What was your favorite part of the movie and why?
Do you have a favorite Dr. Seuss book? Which one and why?
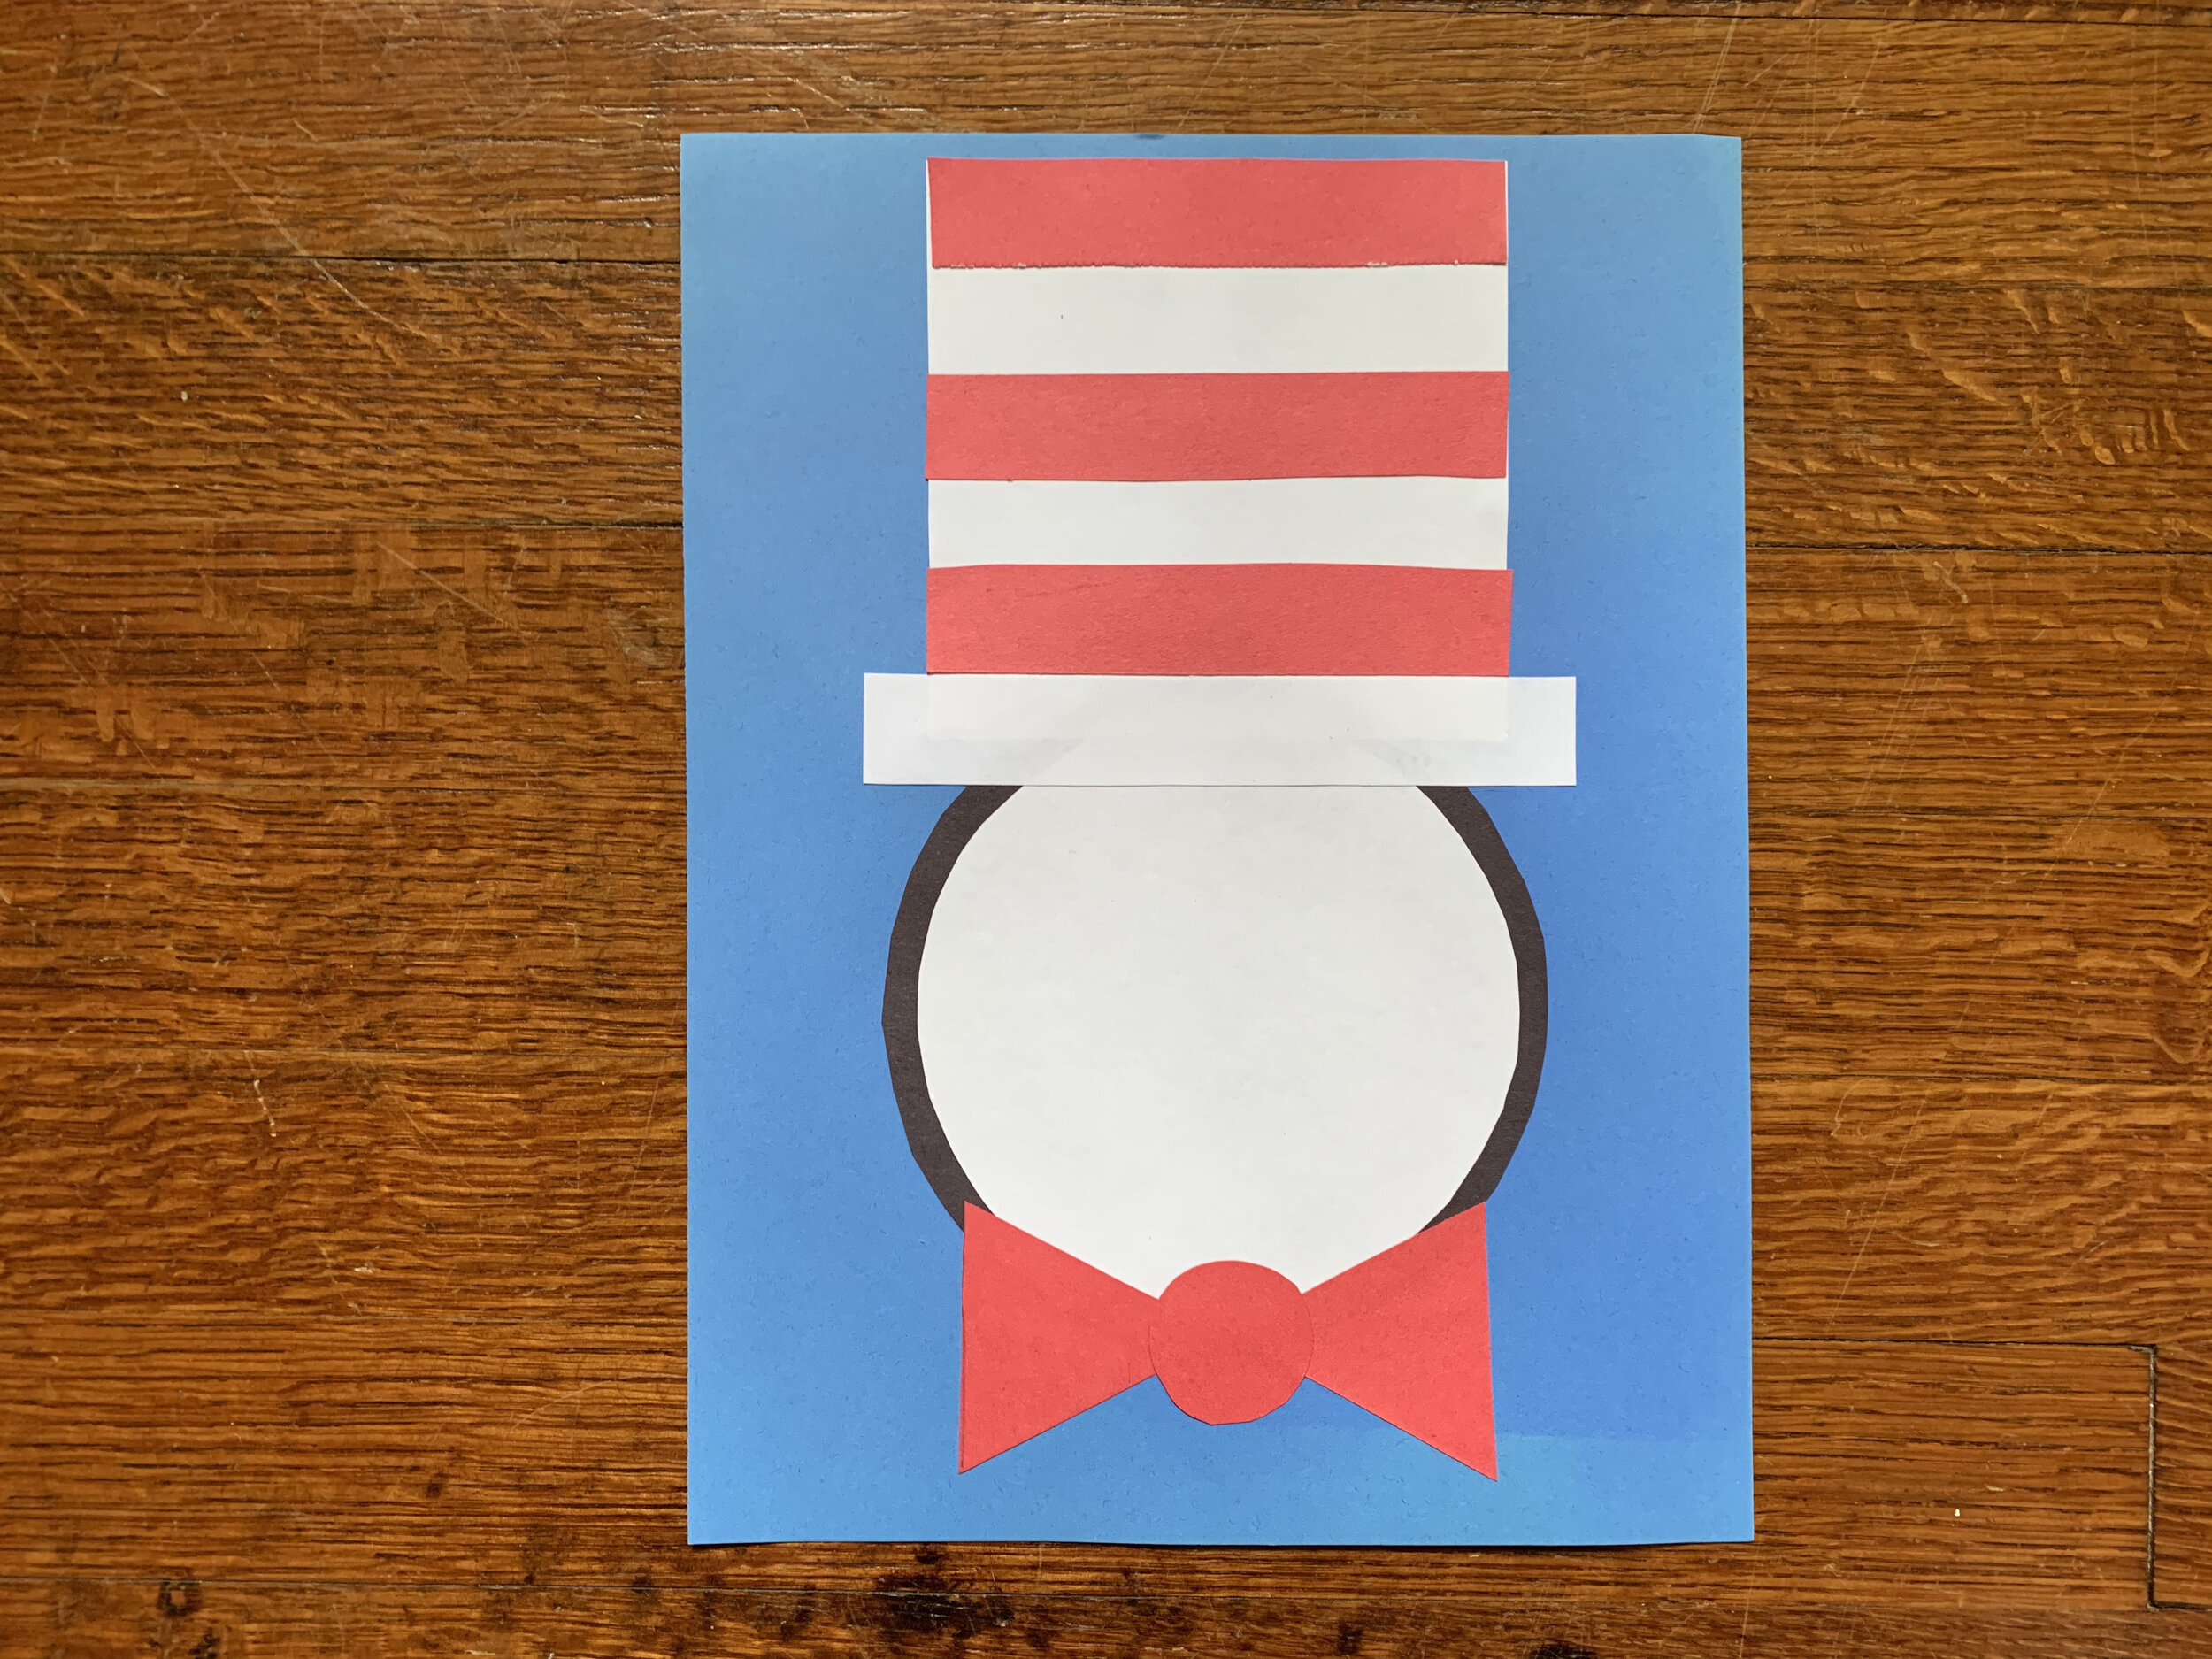
HANDS-ON ACTIVITY: CAT IN THE HAT PORTRAIT
This easy craft is a great activity to help your child with shapes. The Cat in the Hat portrait is made with circles, rectangles, triangles and a square. Make sure to share your photos with your completed portraits on Facebook or Instagram (and tag RFC’s Facebook or Instagram), or email them to robinsonfilmcenter@gmail.com to be entered into the drawing for this week’s prize (watch the video for more on that)! The winner will be announced on Monday, April 6.
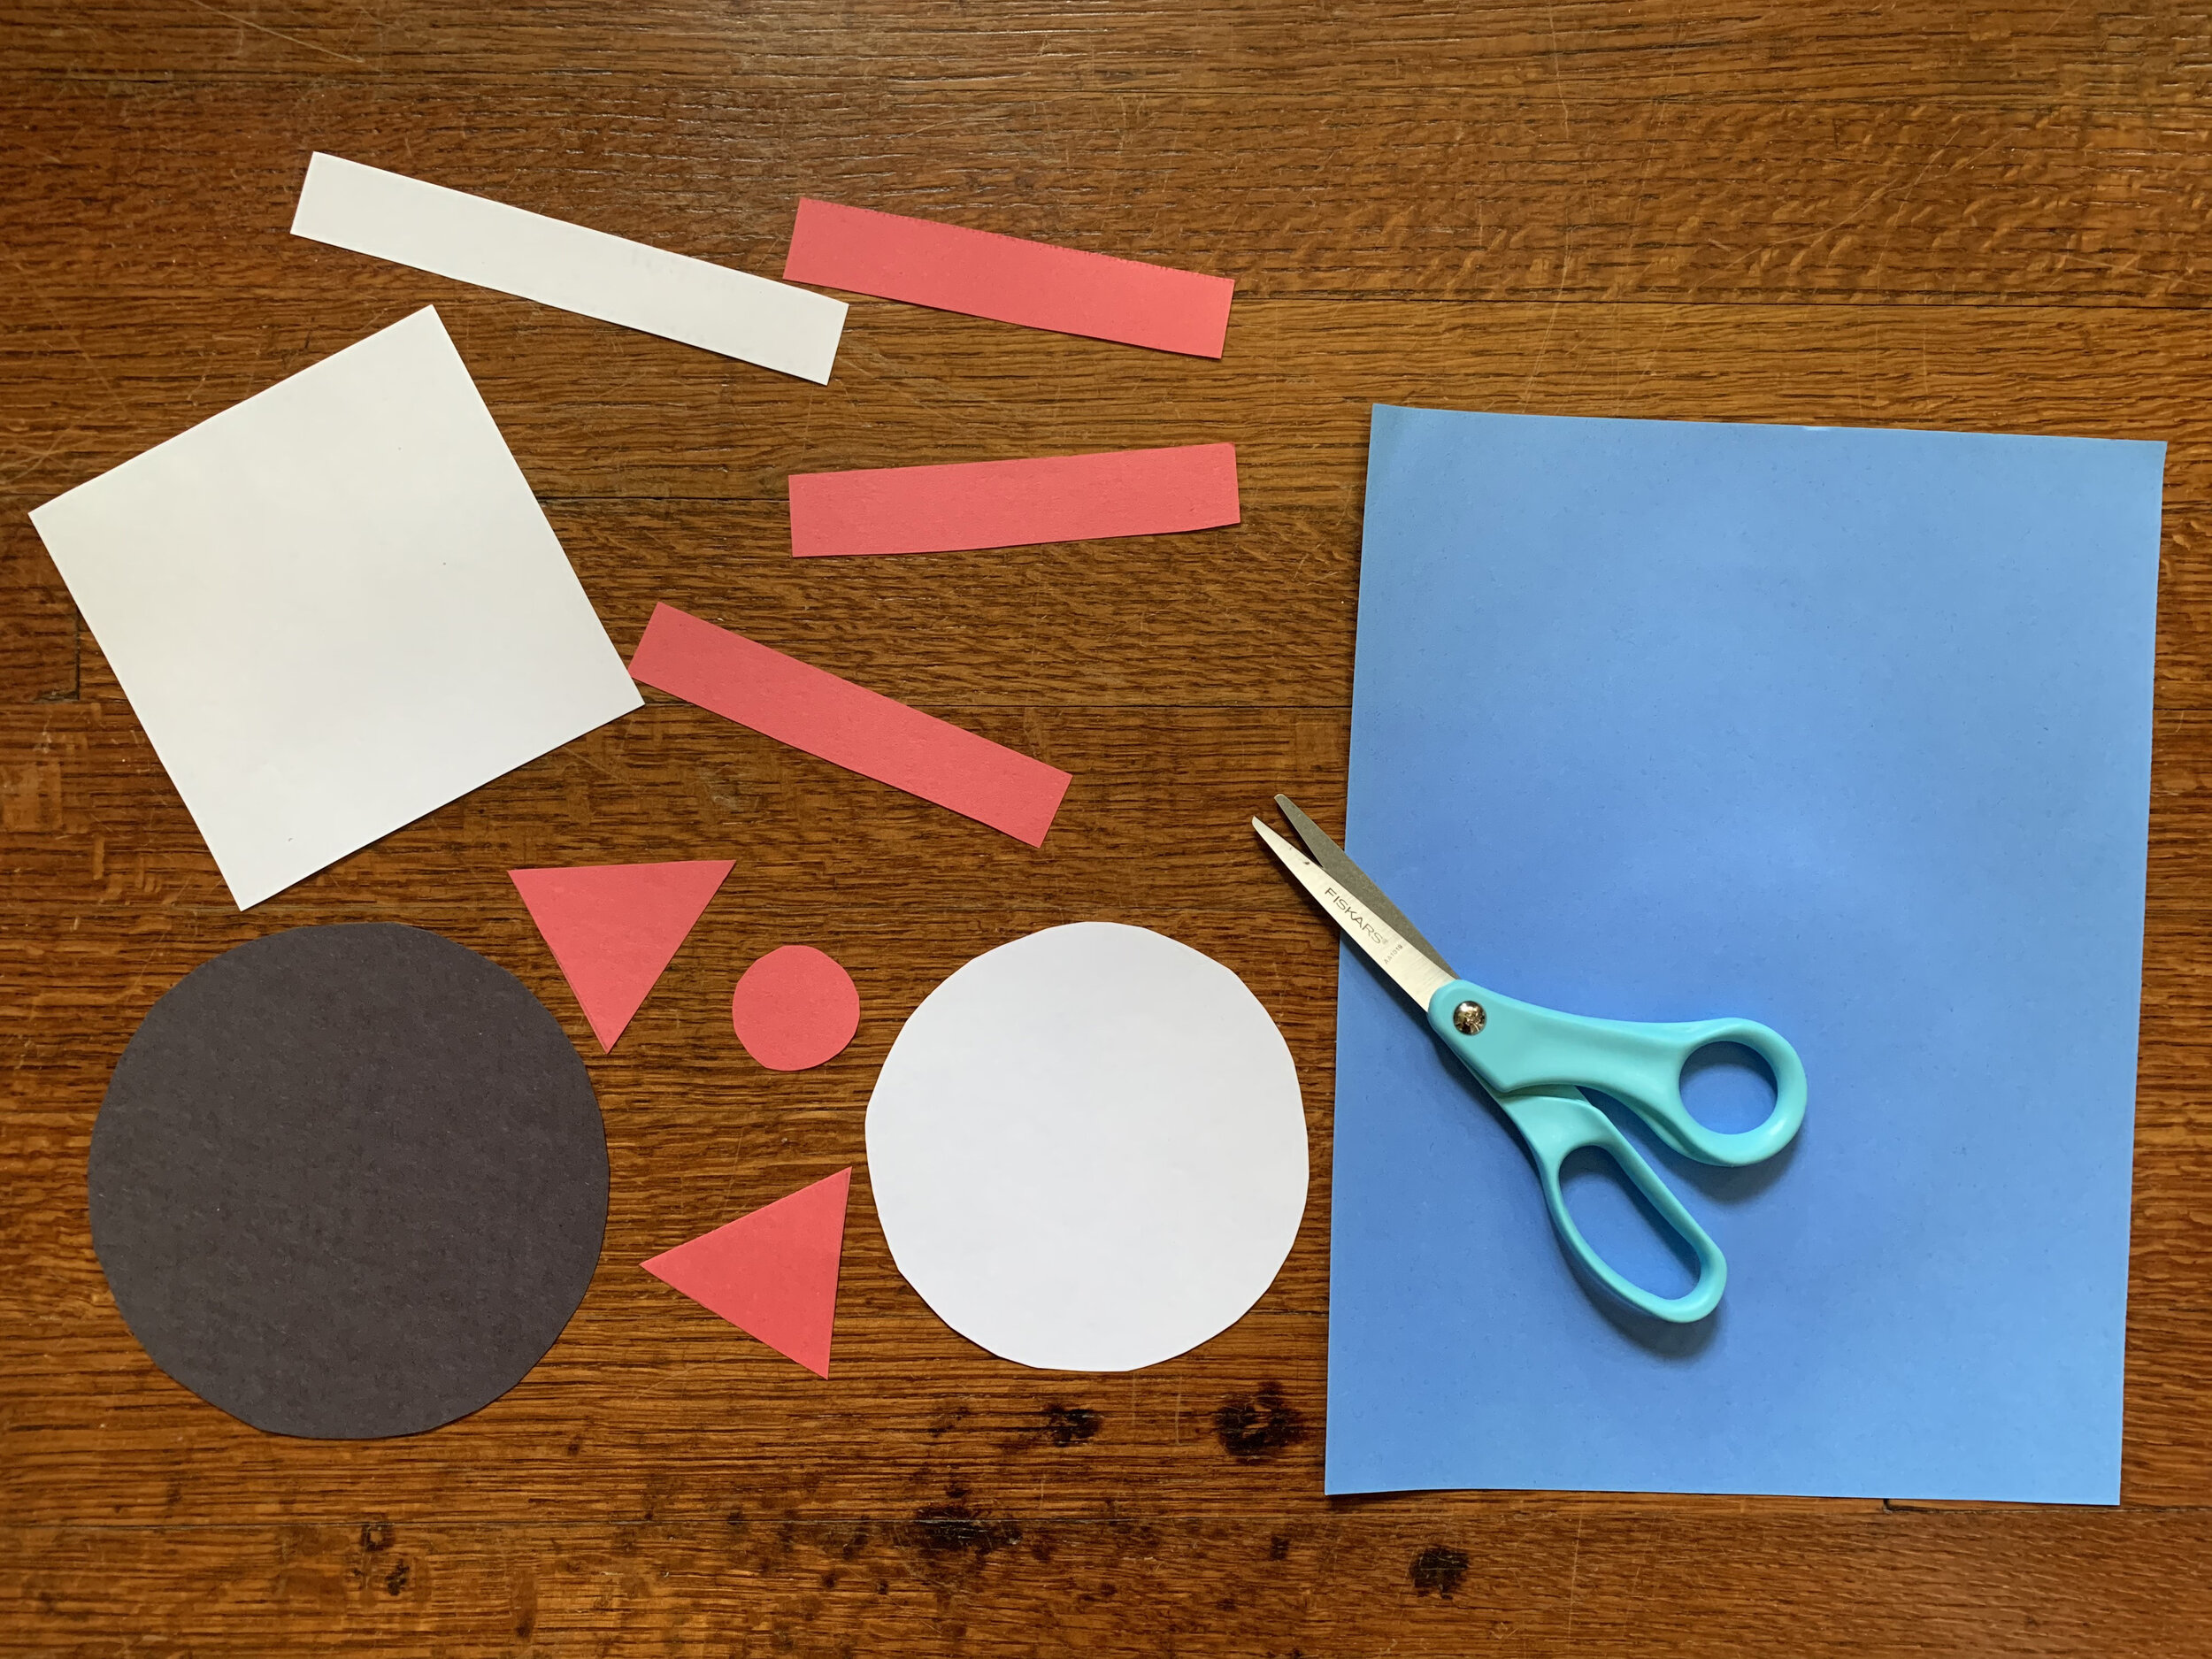
SUPPLIES NEEDED:
RFC’s shape template, click here to download and print
Colored paper or construction paper in blue, white, black and red. If you have a color printer, you can also download and print the full-color template here if you don’t have colored paper.
Scissors
Glue
Black marker
INSTRUCTIONS — WATCH THE VIDEO FOR DEMONSTRATIONS OF THE STEPS BELOW OR CLICK THROUGH THE PHOTO SLIDESHOW ABOVE
Step 1
Download RFC’s Cat in the Hat shape template and print. Cut out all shape templates and trace them on construction paper and cut out. Shapes needed include:
For the head — one black circle and one white circle
For the hat — one white square, three red rectangles and one white rectangle that is longer than the red ones
For the bow tie — one small red circle and two red triangles
Again, if you don’t have colored paper, you can print the black and white template and have your child color the shapes OR if you have a color printer, you can download the full-color template here.
Step 2
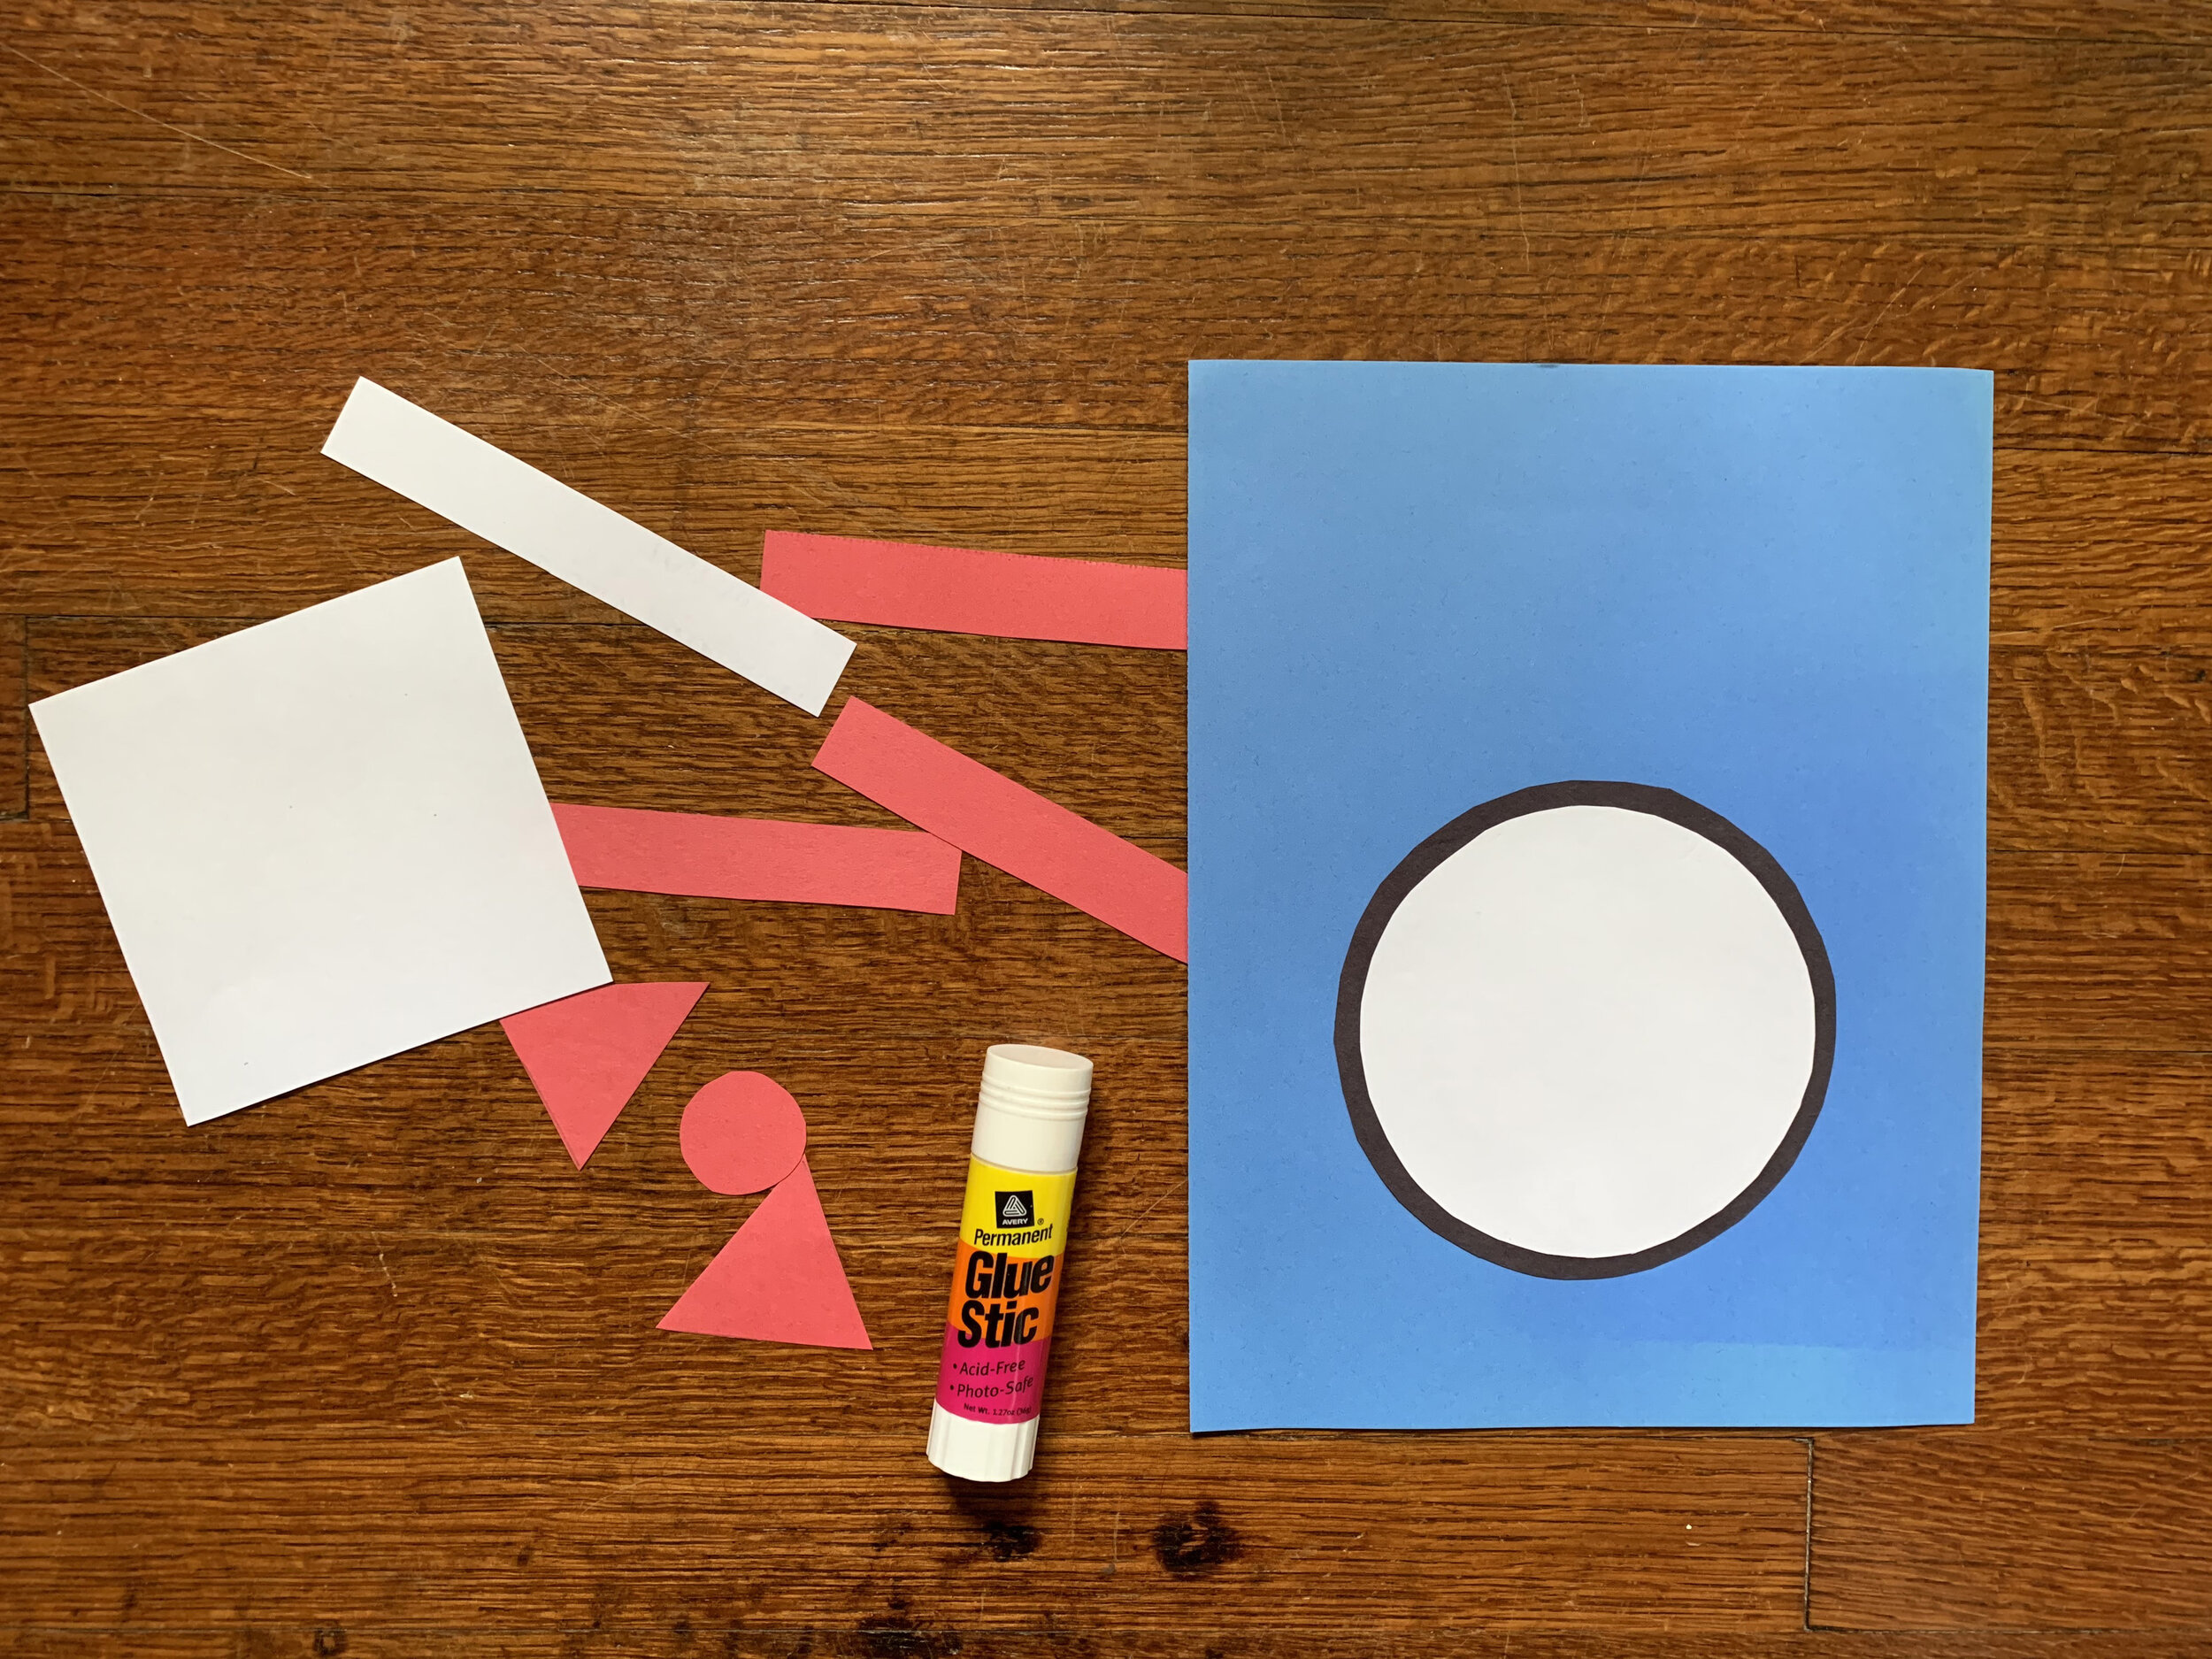
Assemble the head by gluing the white circle centered on top of the larger black circle. Then glue those to the bottom of the blue paper, leaving room for the bow tie to go underneath.
Step 3
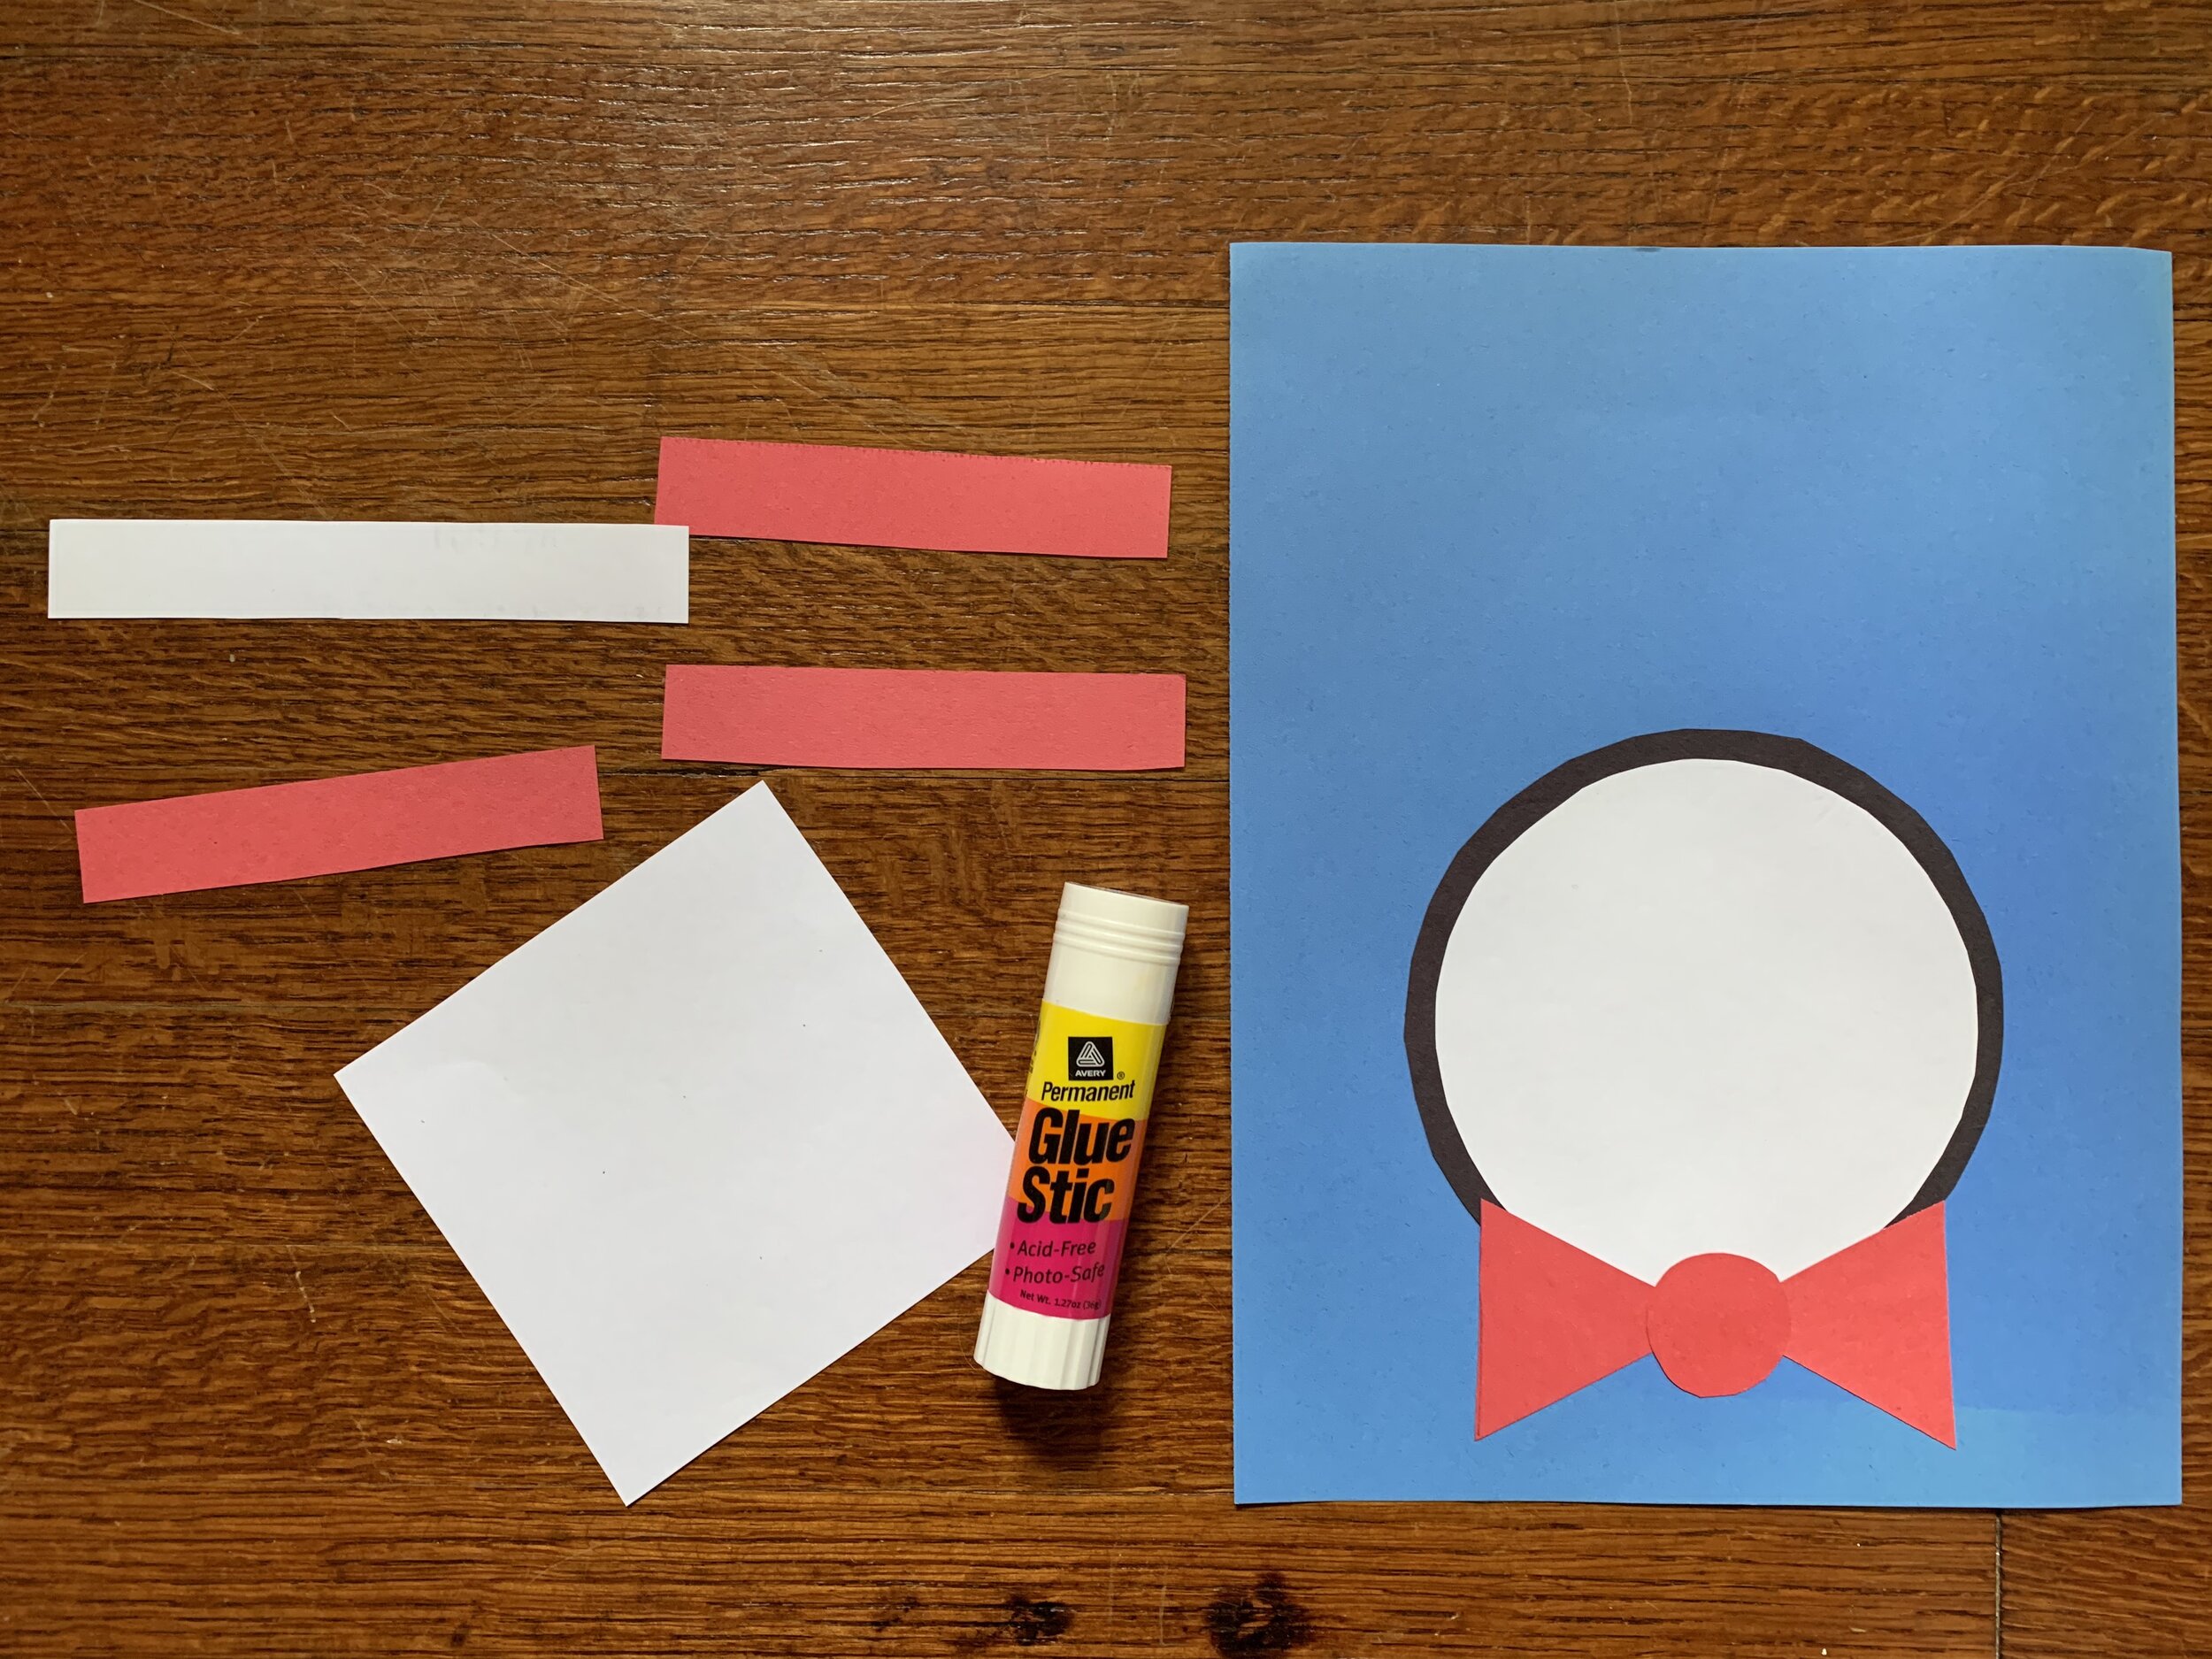
Assemble the bow tie by gluing the red triangles on the small red circle, one triangle on each side. Glue the bow tie under the head.
Step 4
For the hat, glue the white rectangle (the hat brim) on top of the head. The white square goes on top of the brim. Then glue the three red stripes. If you glue the bottom and the top ones first, you can then place the one in the middle so your stripes are spread out evenly.
Step 5
Draw the Cat in the Hat’s eyes, nose, mouth, whiskers and any other embellishments with your black marker.


