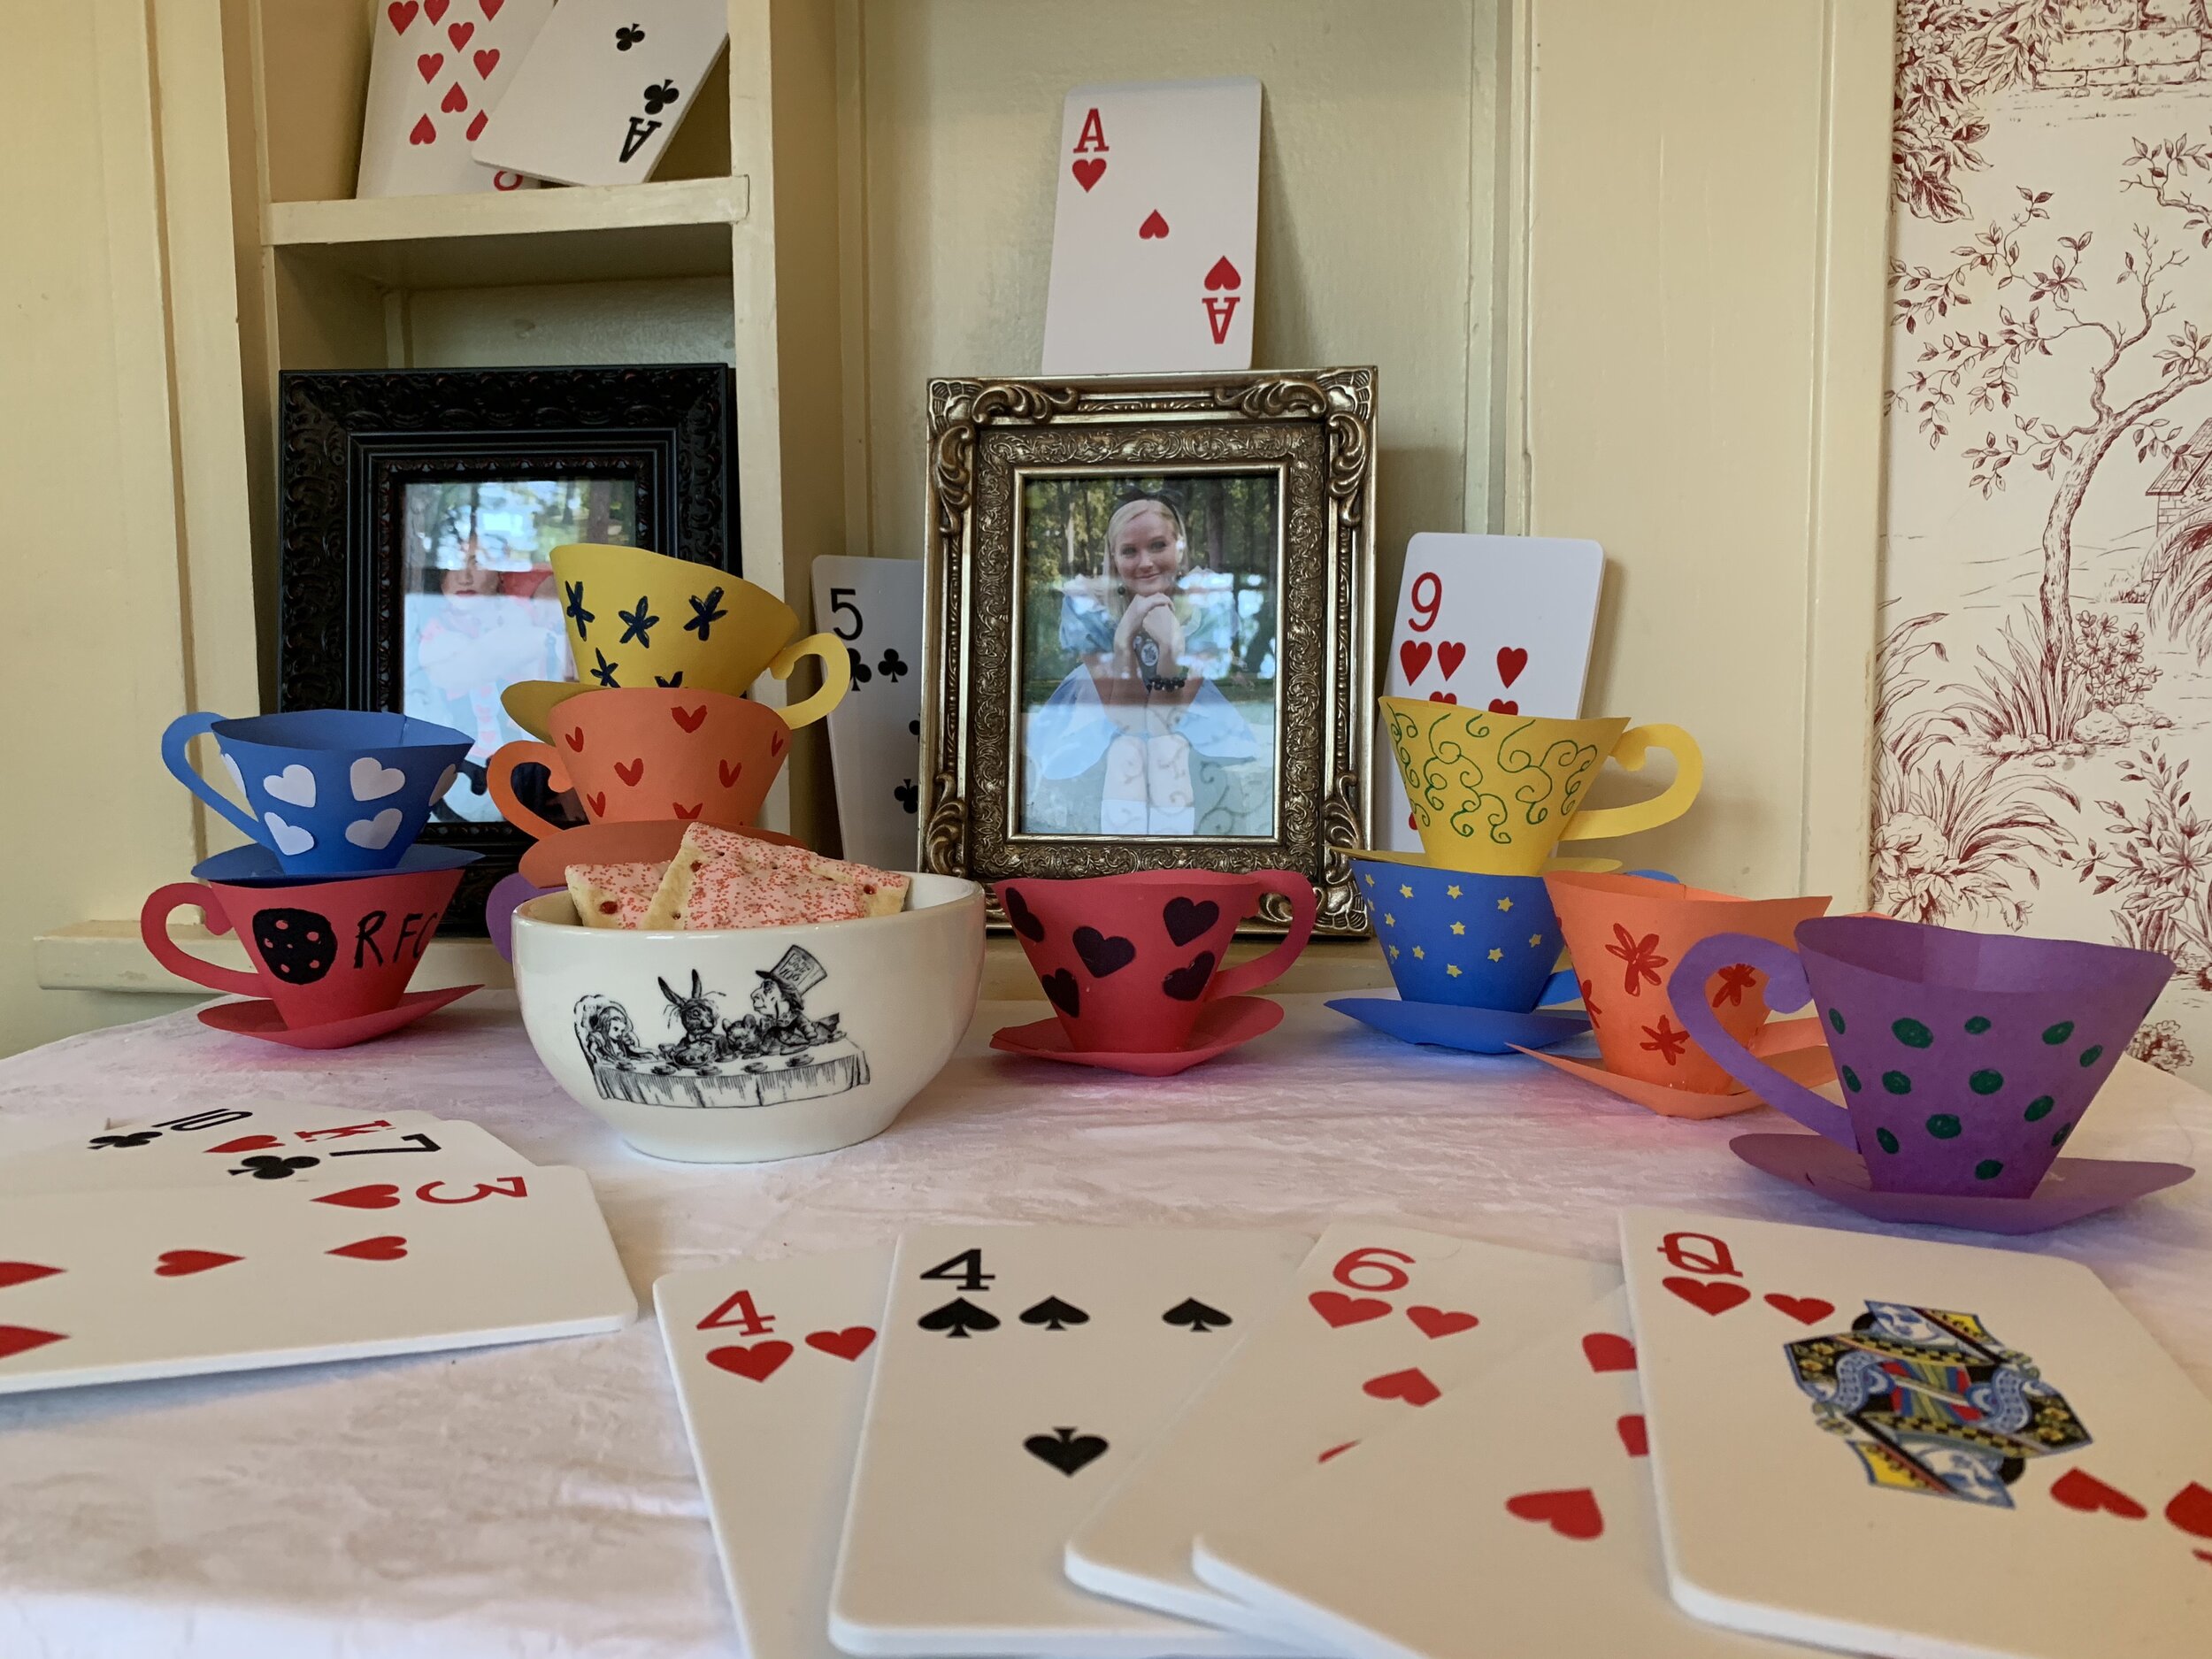
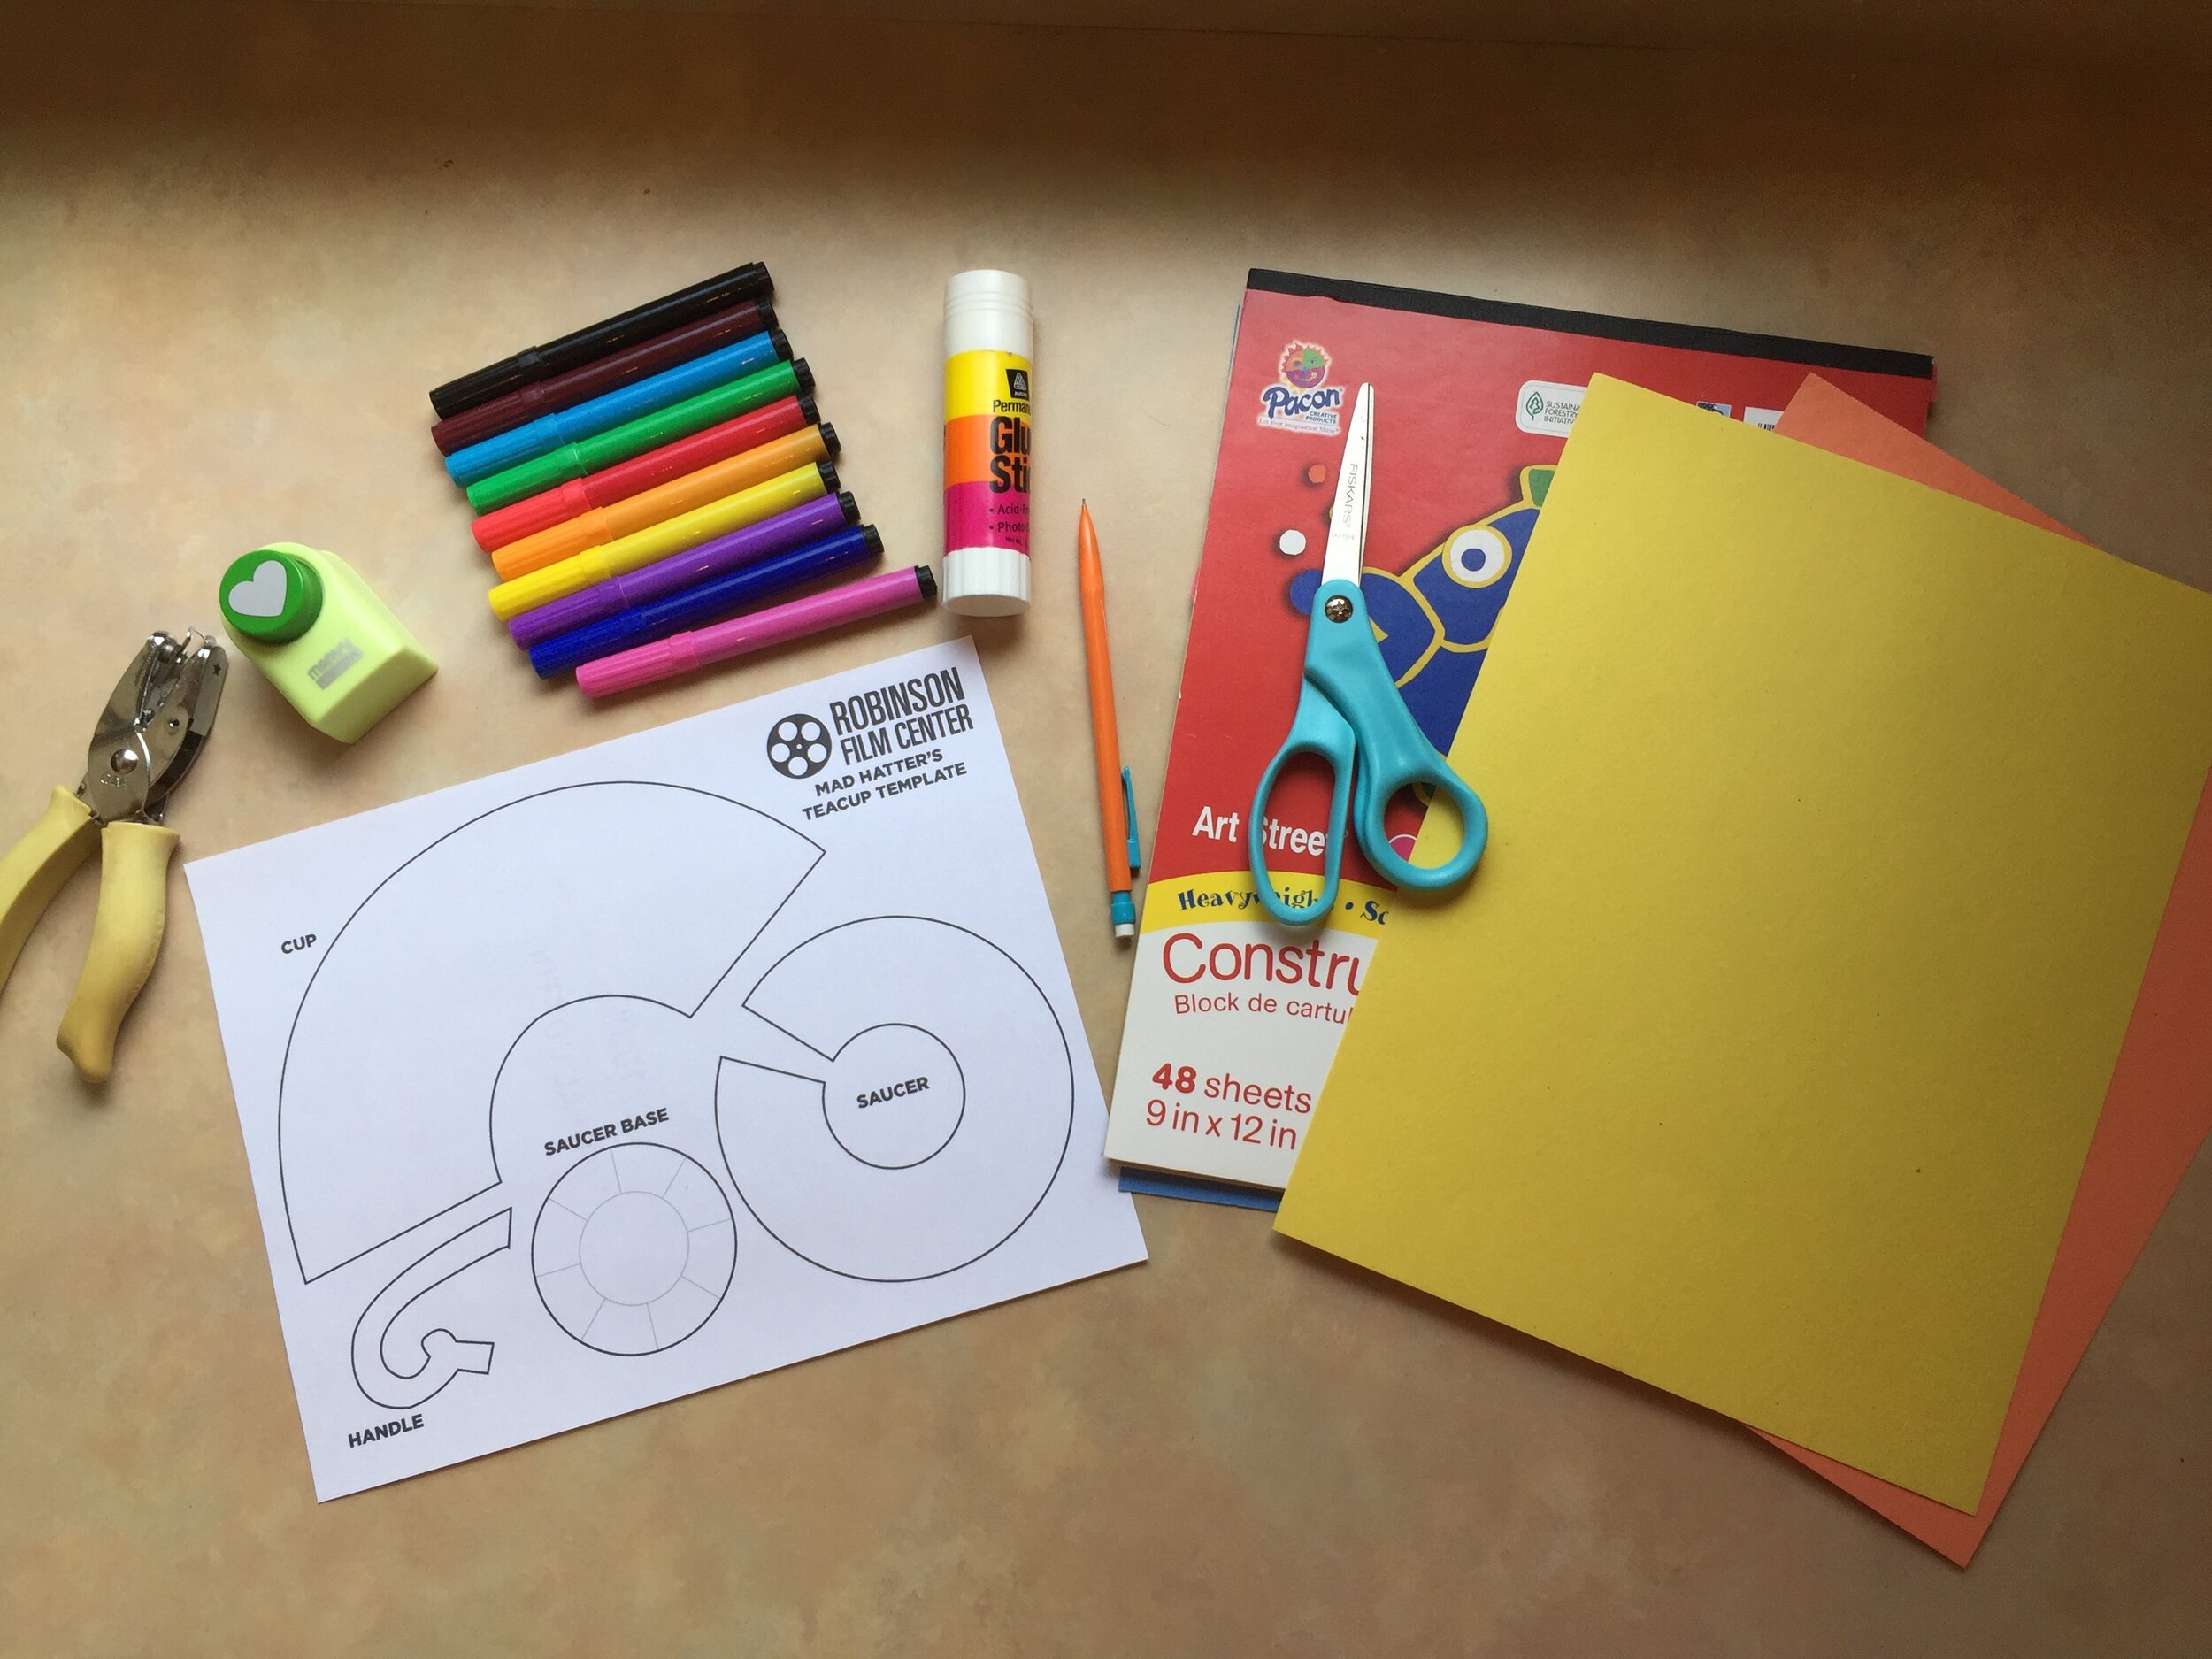
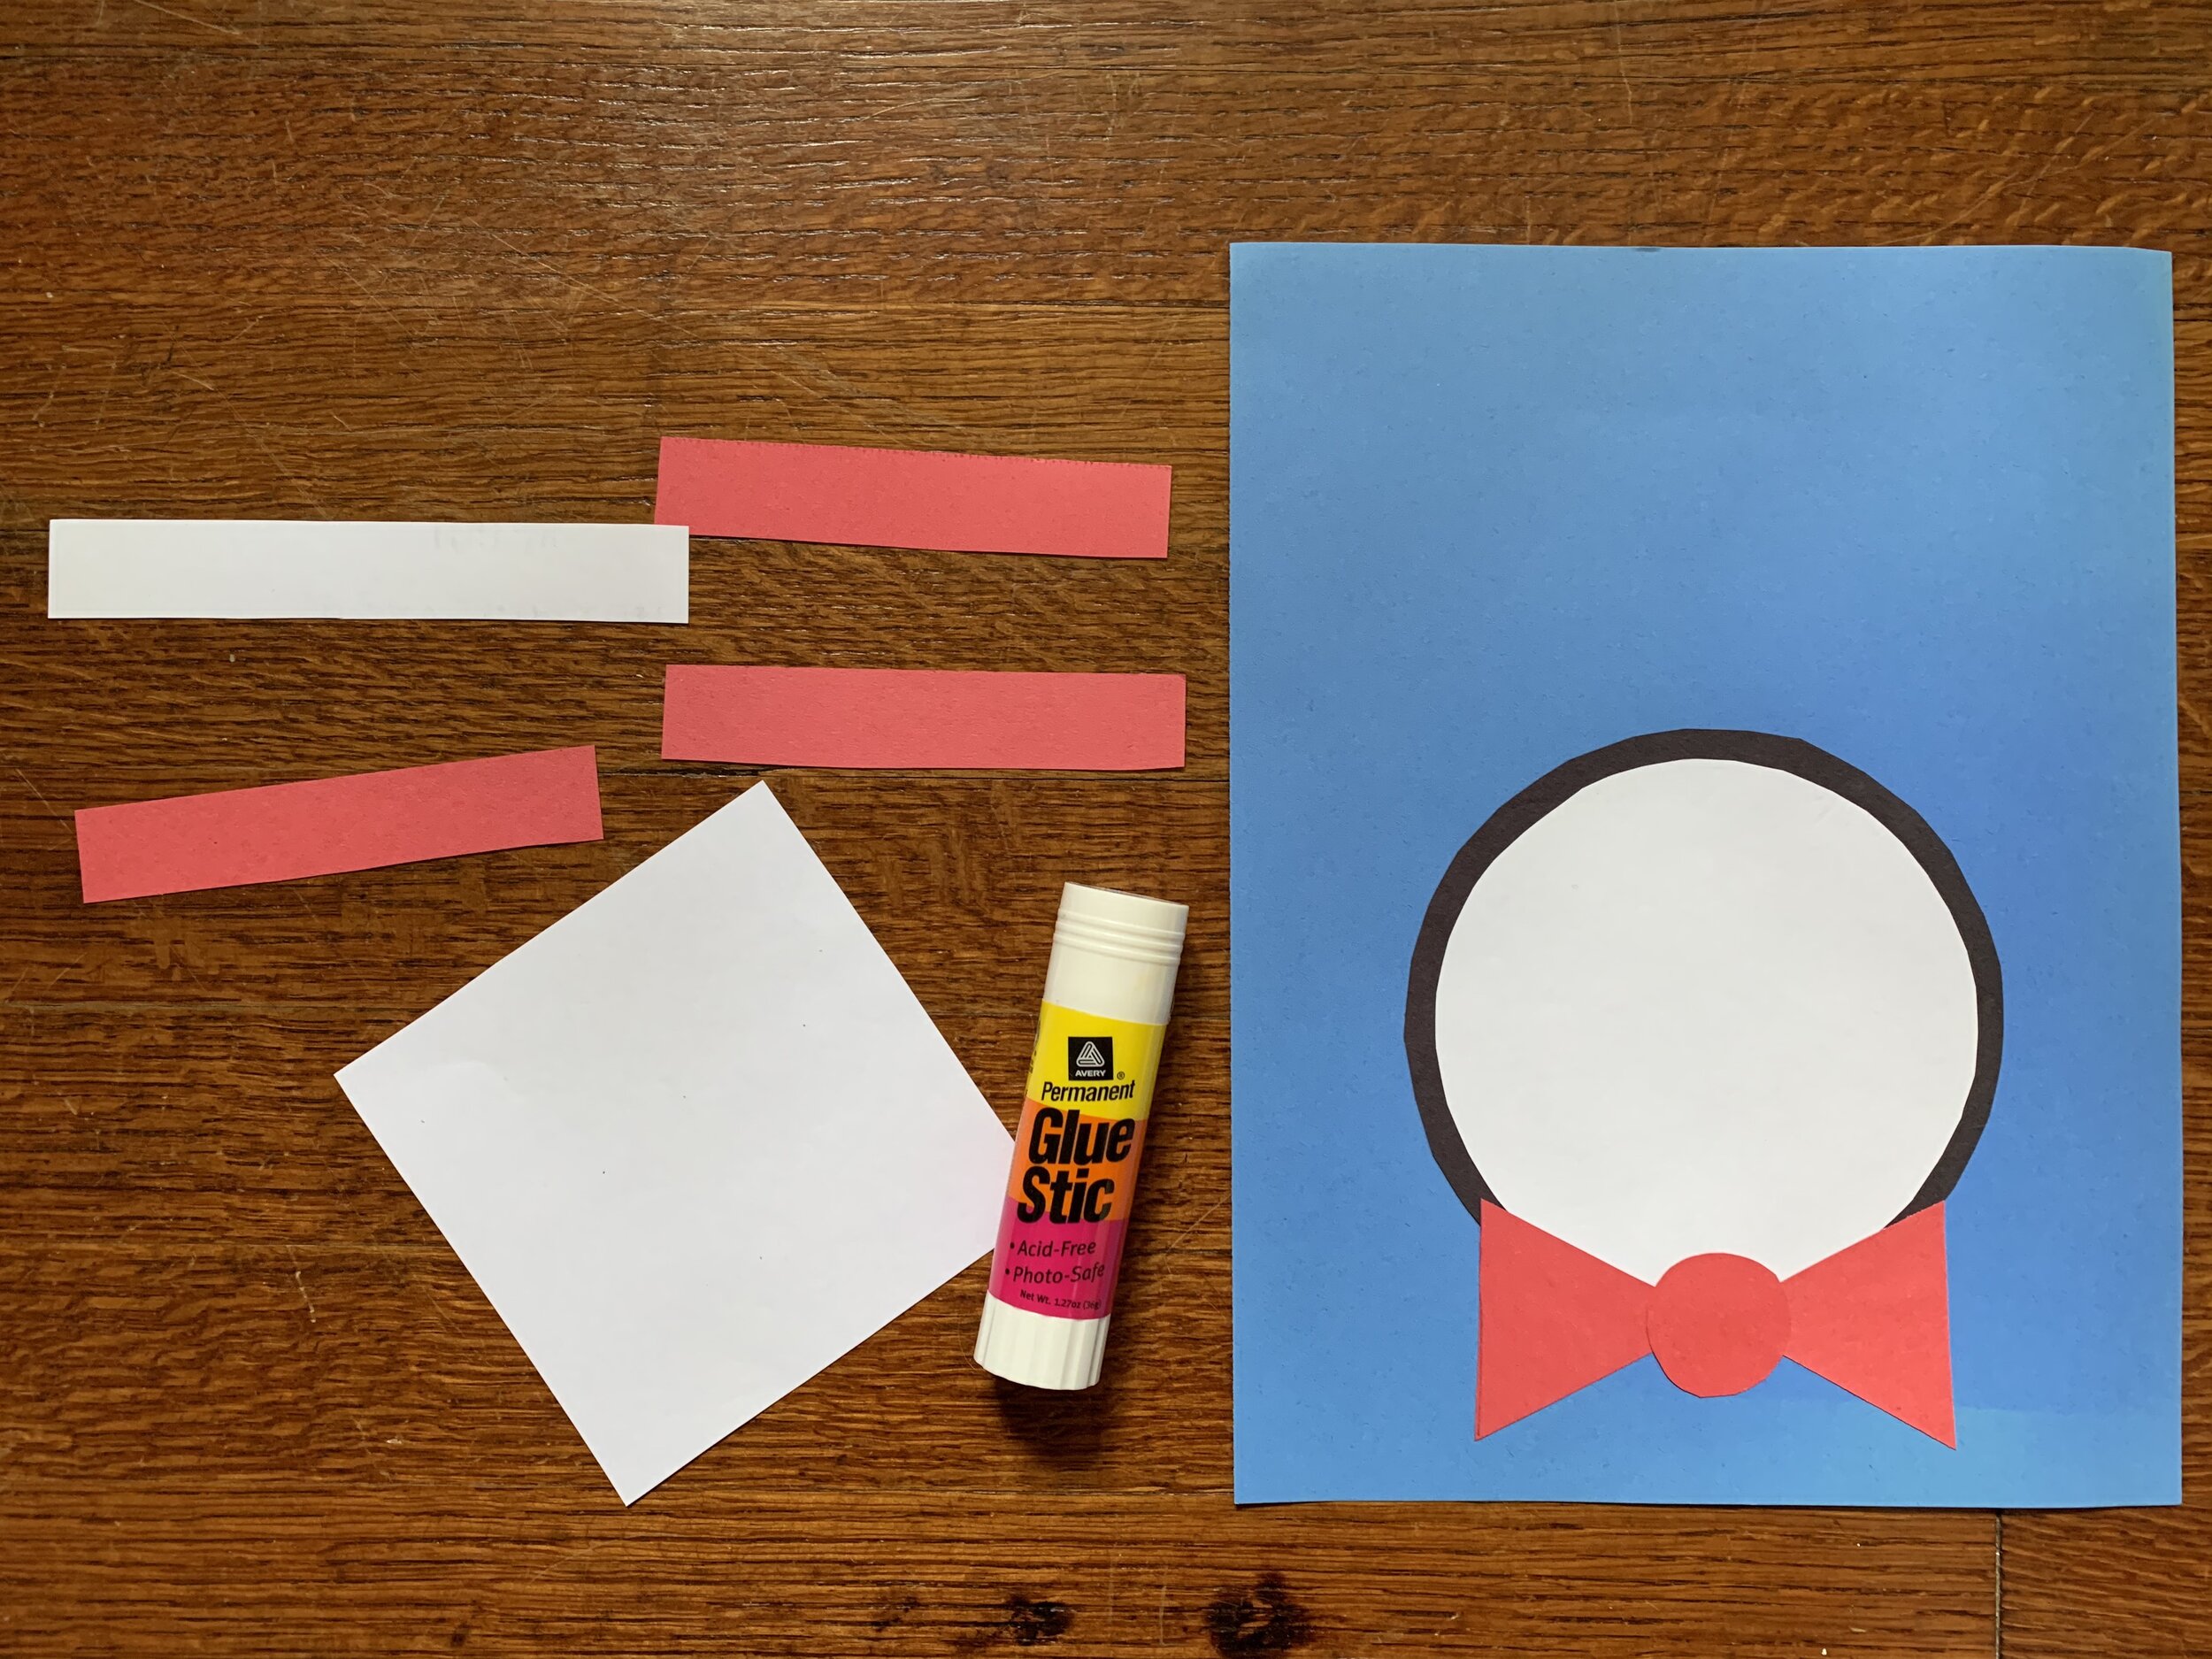
SUPPLIES NEEDED:
INSTRUCTIONS — WATCH THE VIDEO FOR DEMONSTRATIONS OF THE STEPS BELOW
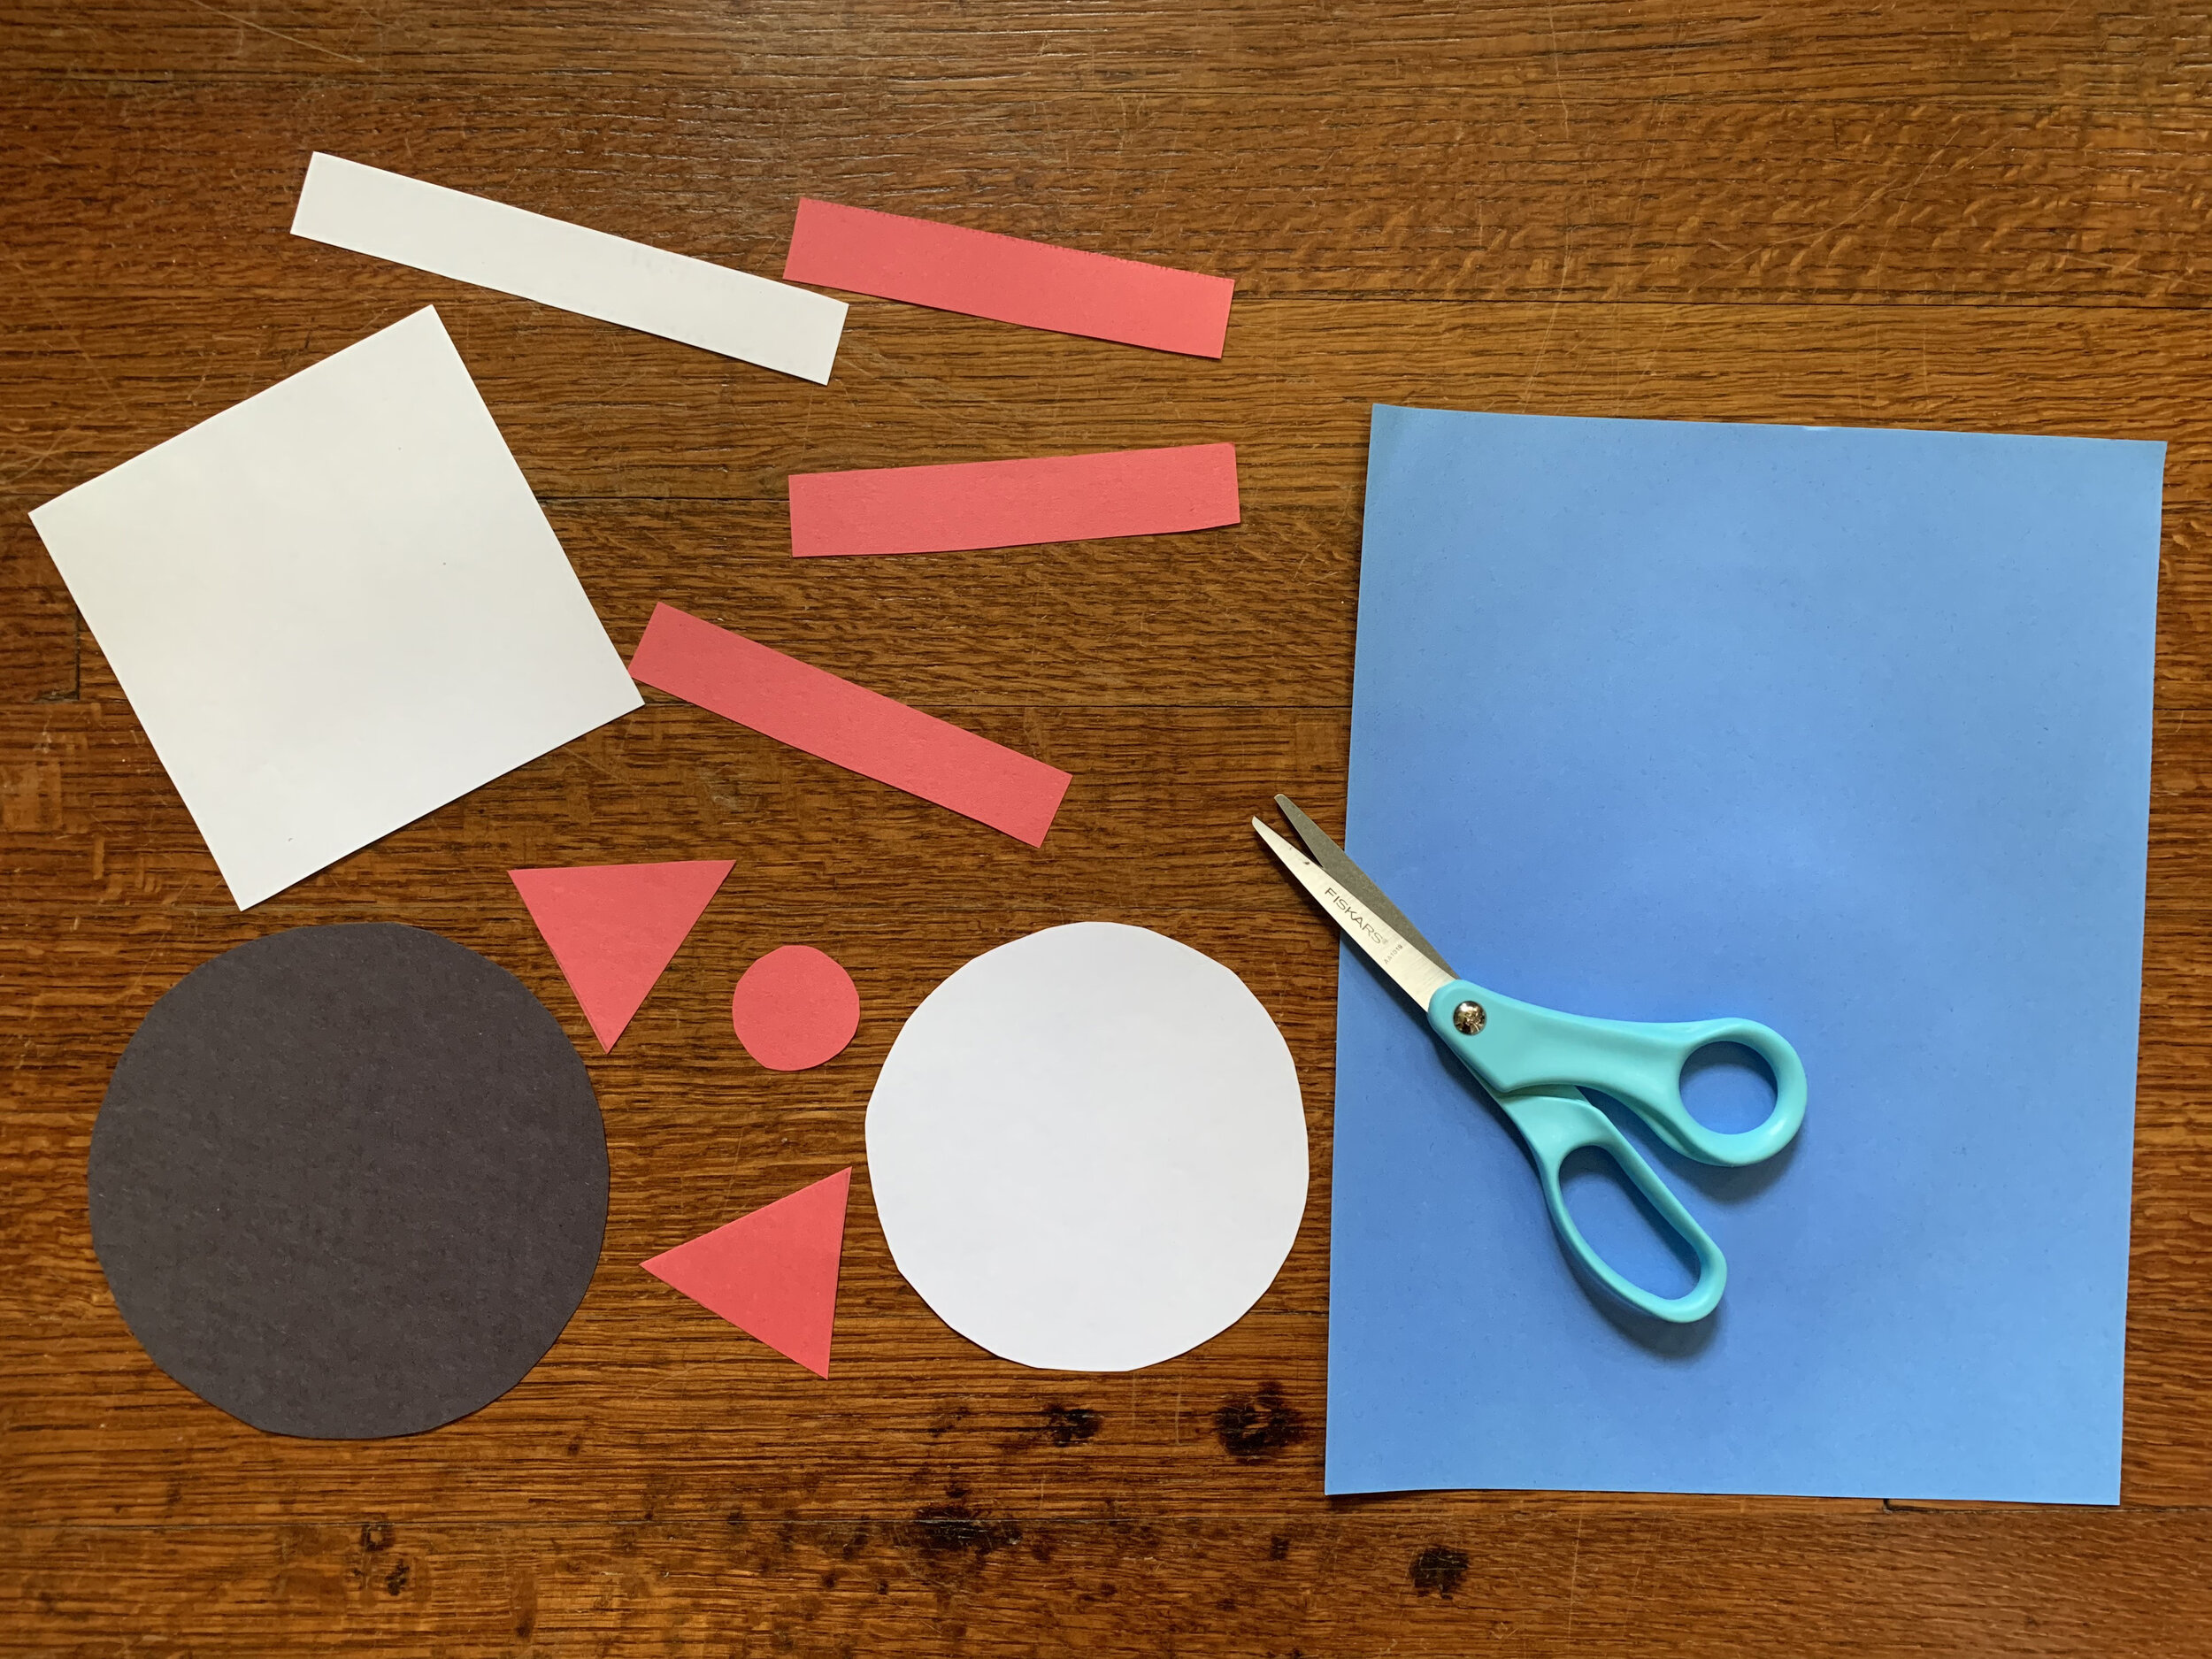
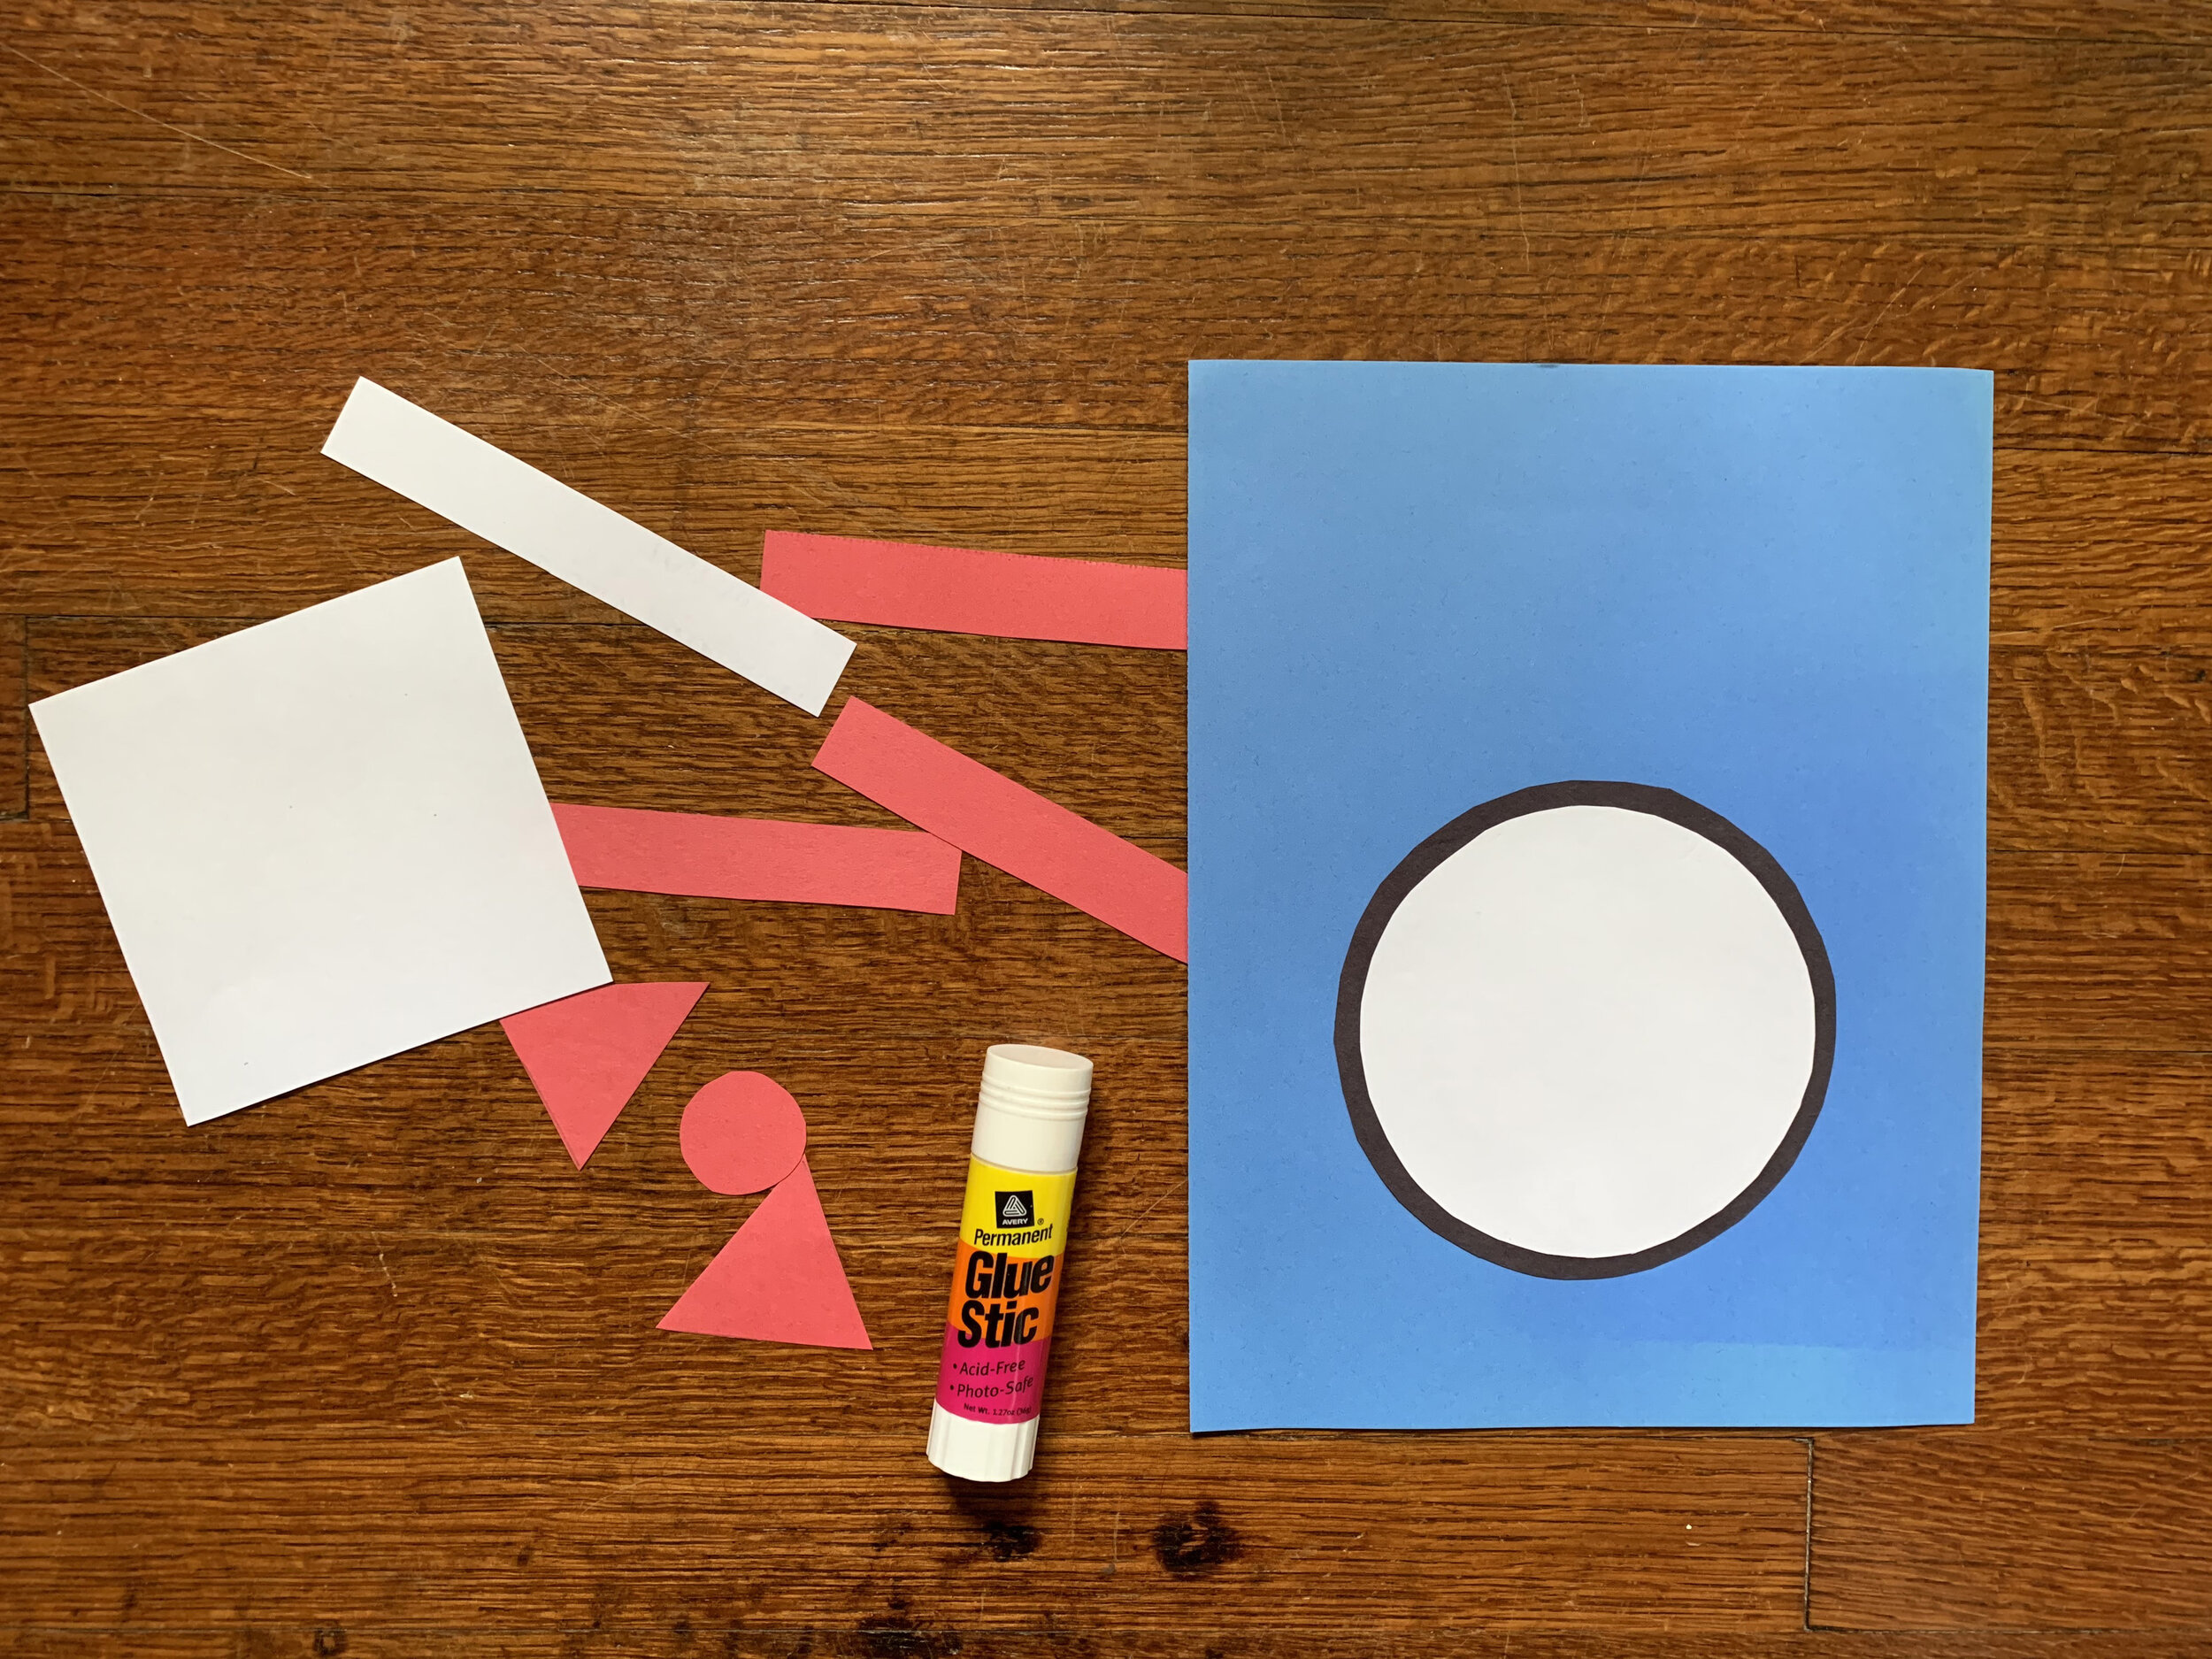
Step 1: Prepare your paper
Stick a strip of double sided tape diagonally across your sheet of paper
Step 2: Tightly roll the paper
Starting in the corner, tightly roll the paper and diagonally, rolling one end a little less than the other so that the thin paper roll is tapered. Roll until you get to the double sided tape – roll over the tape so that your tapered roll sticks to it.
Step 3: Glue the last third of your paper roll
Smear the corner of the paper with the glue so the whole surface is covered. Then continue to roll the wand tightly and hold it in place with your fingers until it’s dry – wait about 20-30 minutes before your next step.
Step 4: Trim the wand
After the wand has dried, trim a little bit off both ends of the wand to make the ends straight. OPTIONAL: If you want your wand to be extra sturdy, you can repeat steps 1-3 with another sheet of paper, this time rolling it ever tighter, and stuff the new tighter roll inside your original wand and trim.
Step 5: Fill and plug the ends of the wand
If you have a hot glue gun, with the help of an adult, dribble the glue into the openings on both ends of the wand one at a time, waiting until each end is set. On the bigger end, if you glue with care, you can achieve a rounded end. As the glue is setting, make sure that you rotate the wand to stop it slumping to one side or dripping over the edge. The same goes for the smaller end, although if you have wound the wand tightly enough, you will not need to fill this twice.
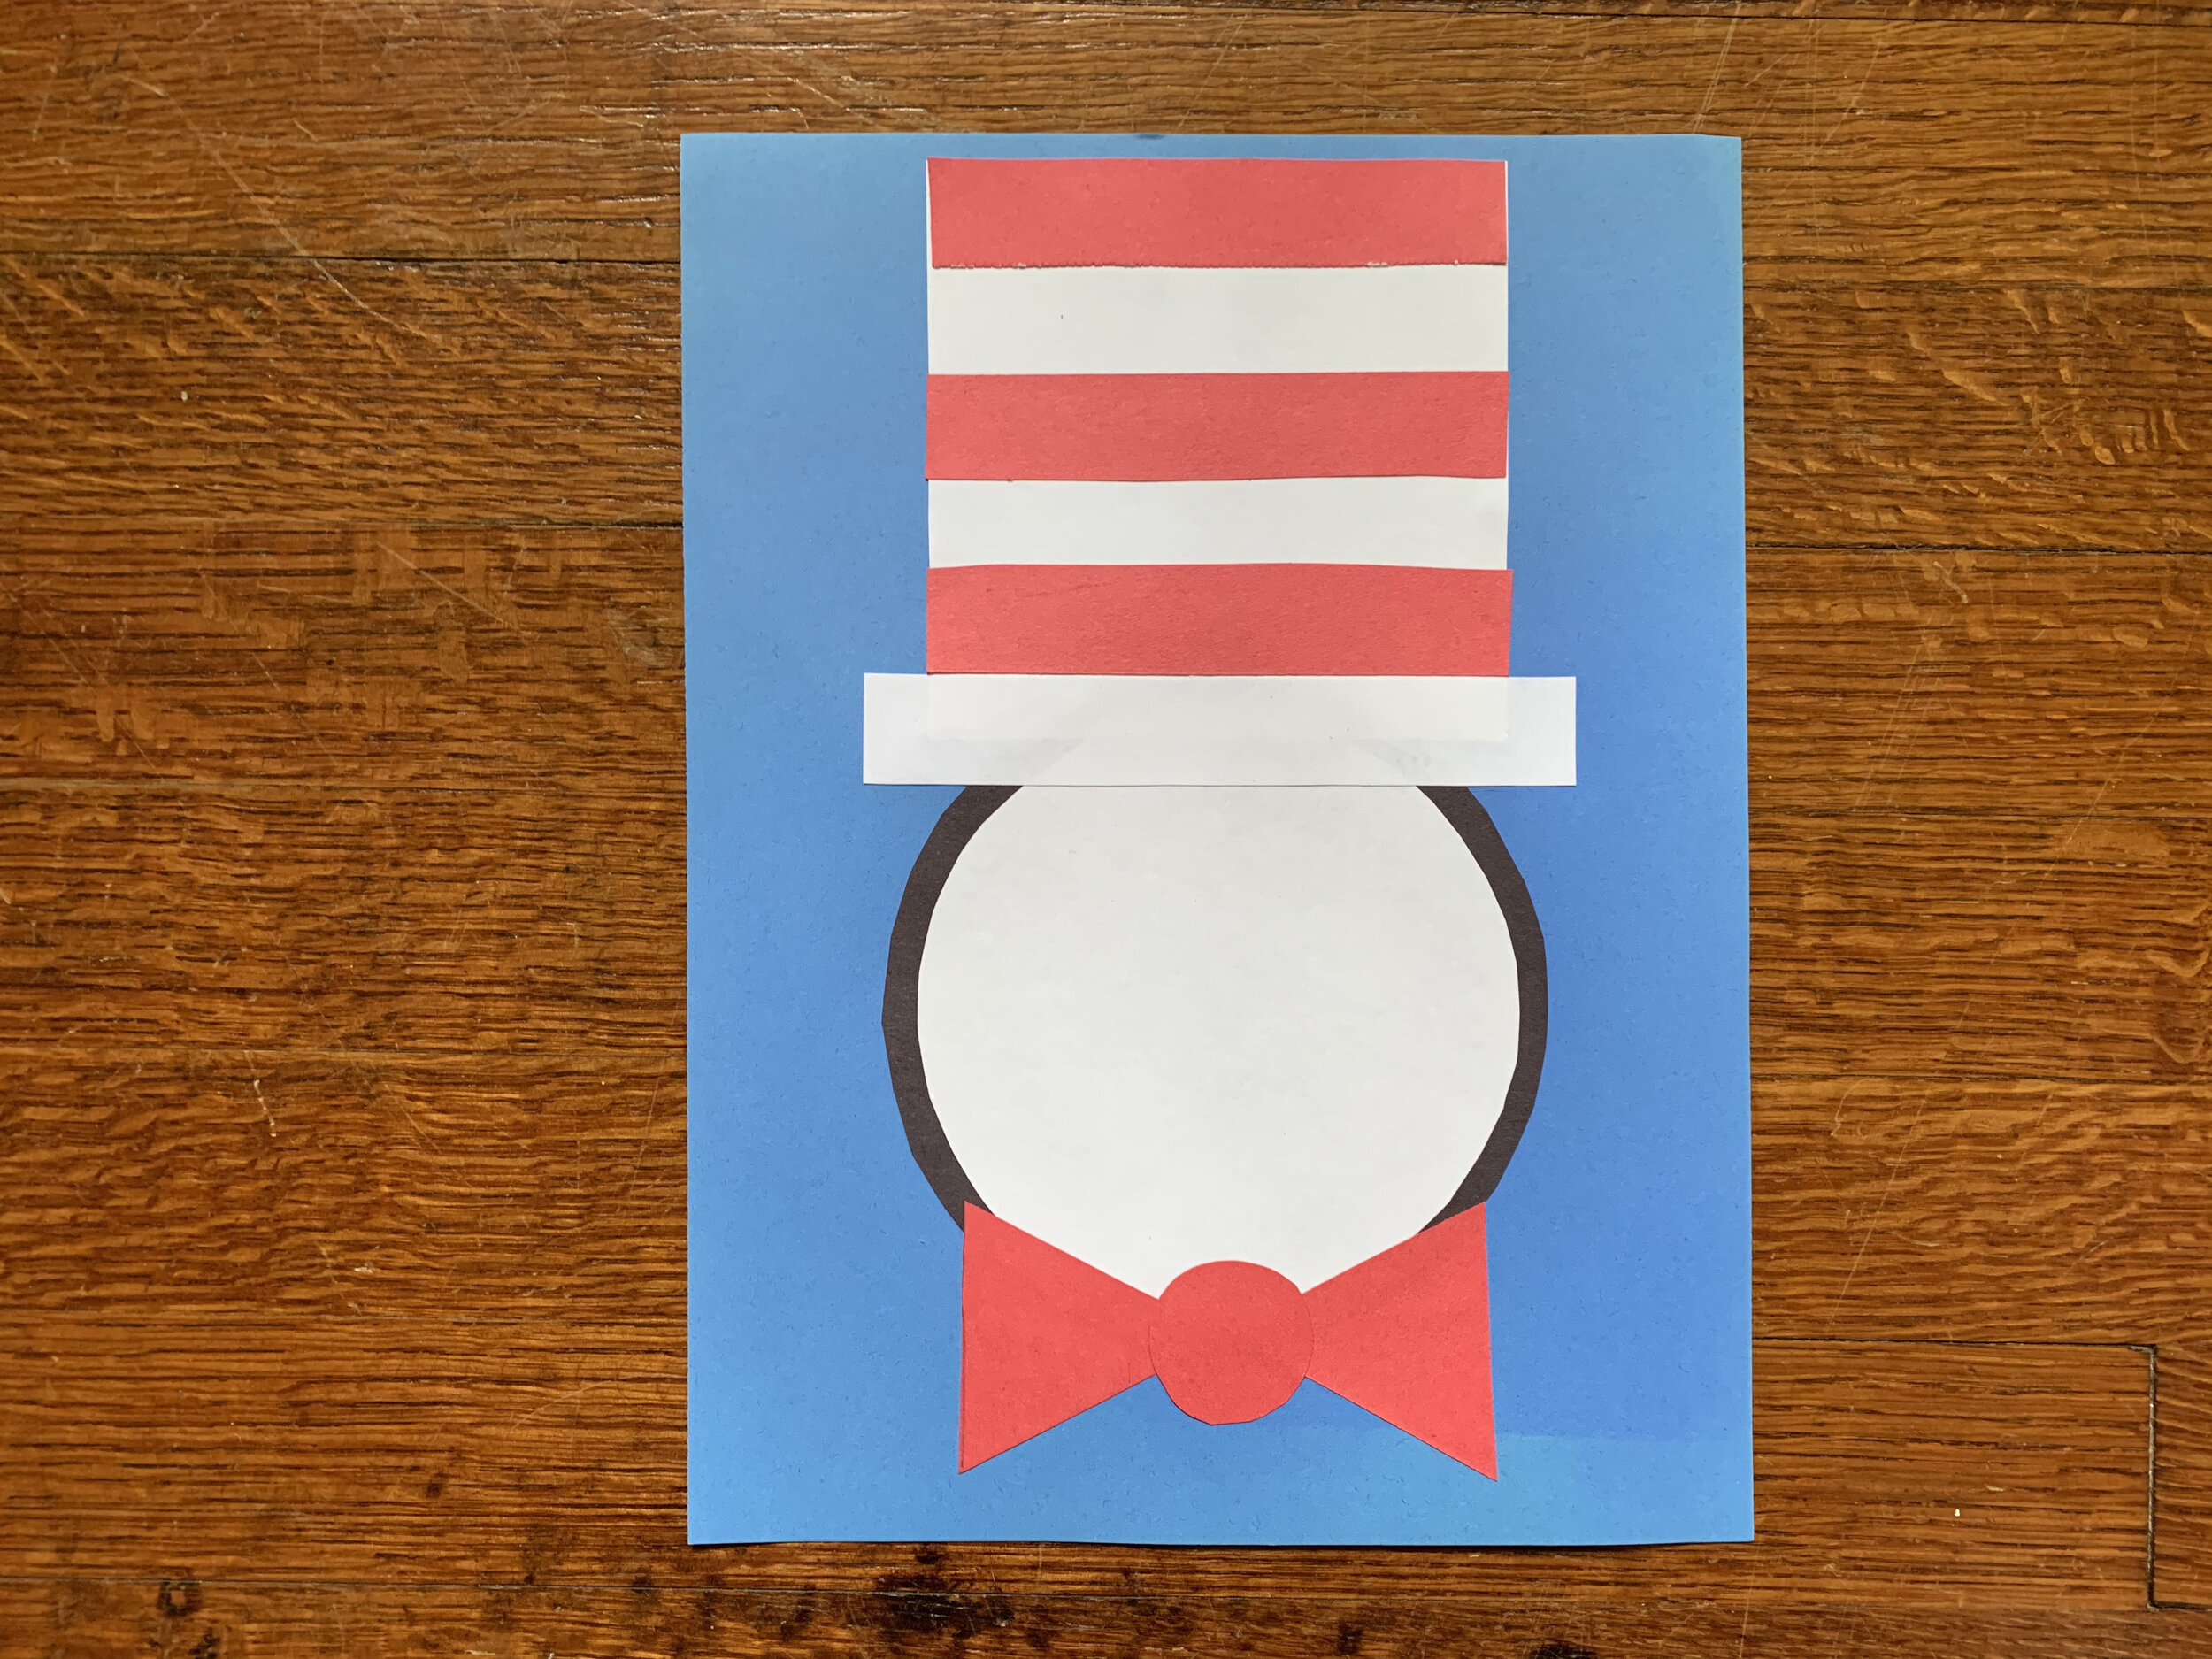
Step 6: Create surface details
With the help of an adult, you can use your hot glue to add embellishments to your want. You can create rings, a crisscross lattice effect or a random pattern like vines. Holding the wand in one hand and the glue gun in the other slowly rotate the wand between finger and thumb as you gently squeeze out glue gun glue onto the surface of the wand. As the glue sets rotate the wand in the air to make sure that no uneven drips build up. The glue gun glue should be set in about a minute or so, but might be tacky for a couple more minutes so be careful what you rest it on to set properly.
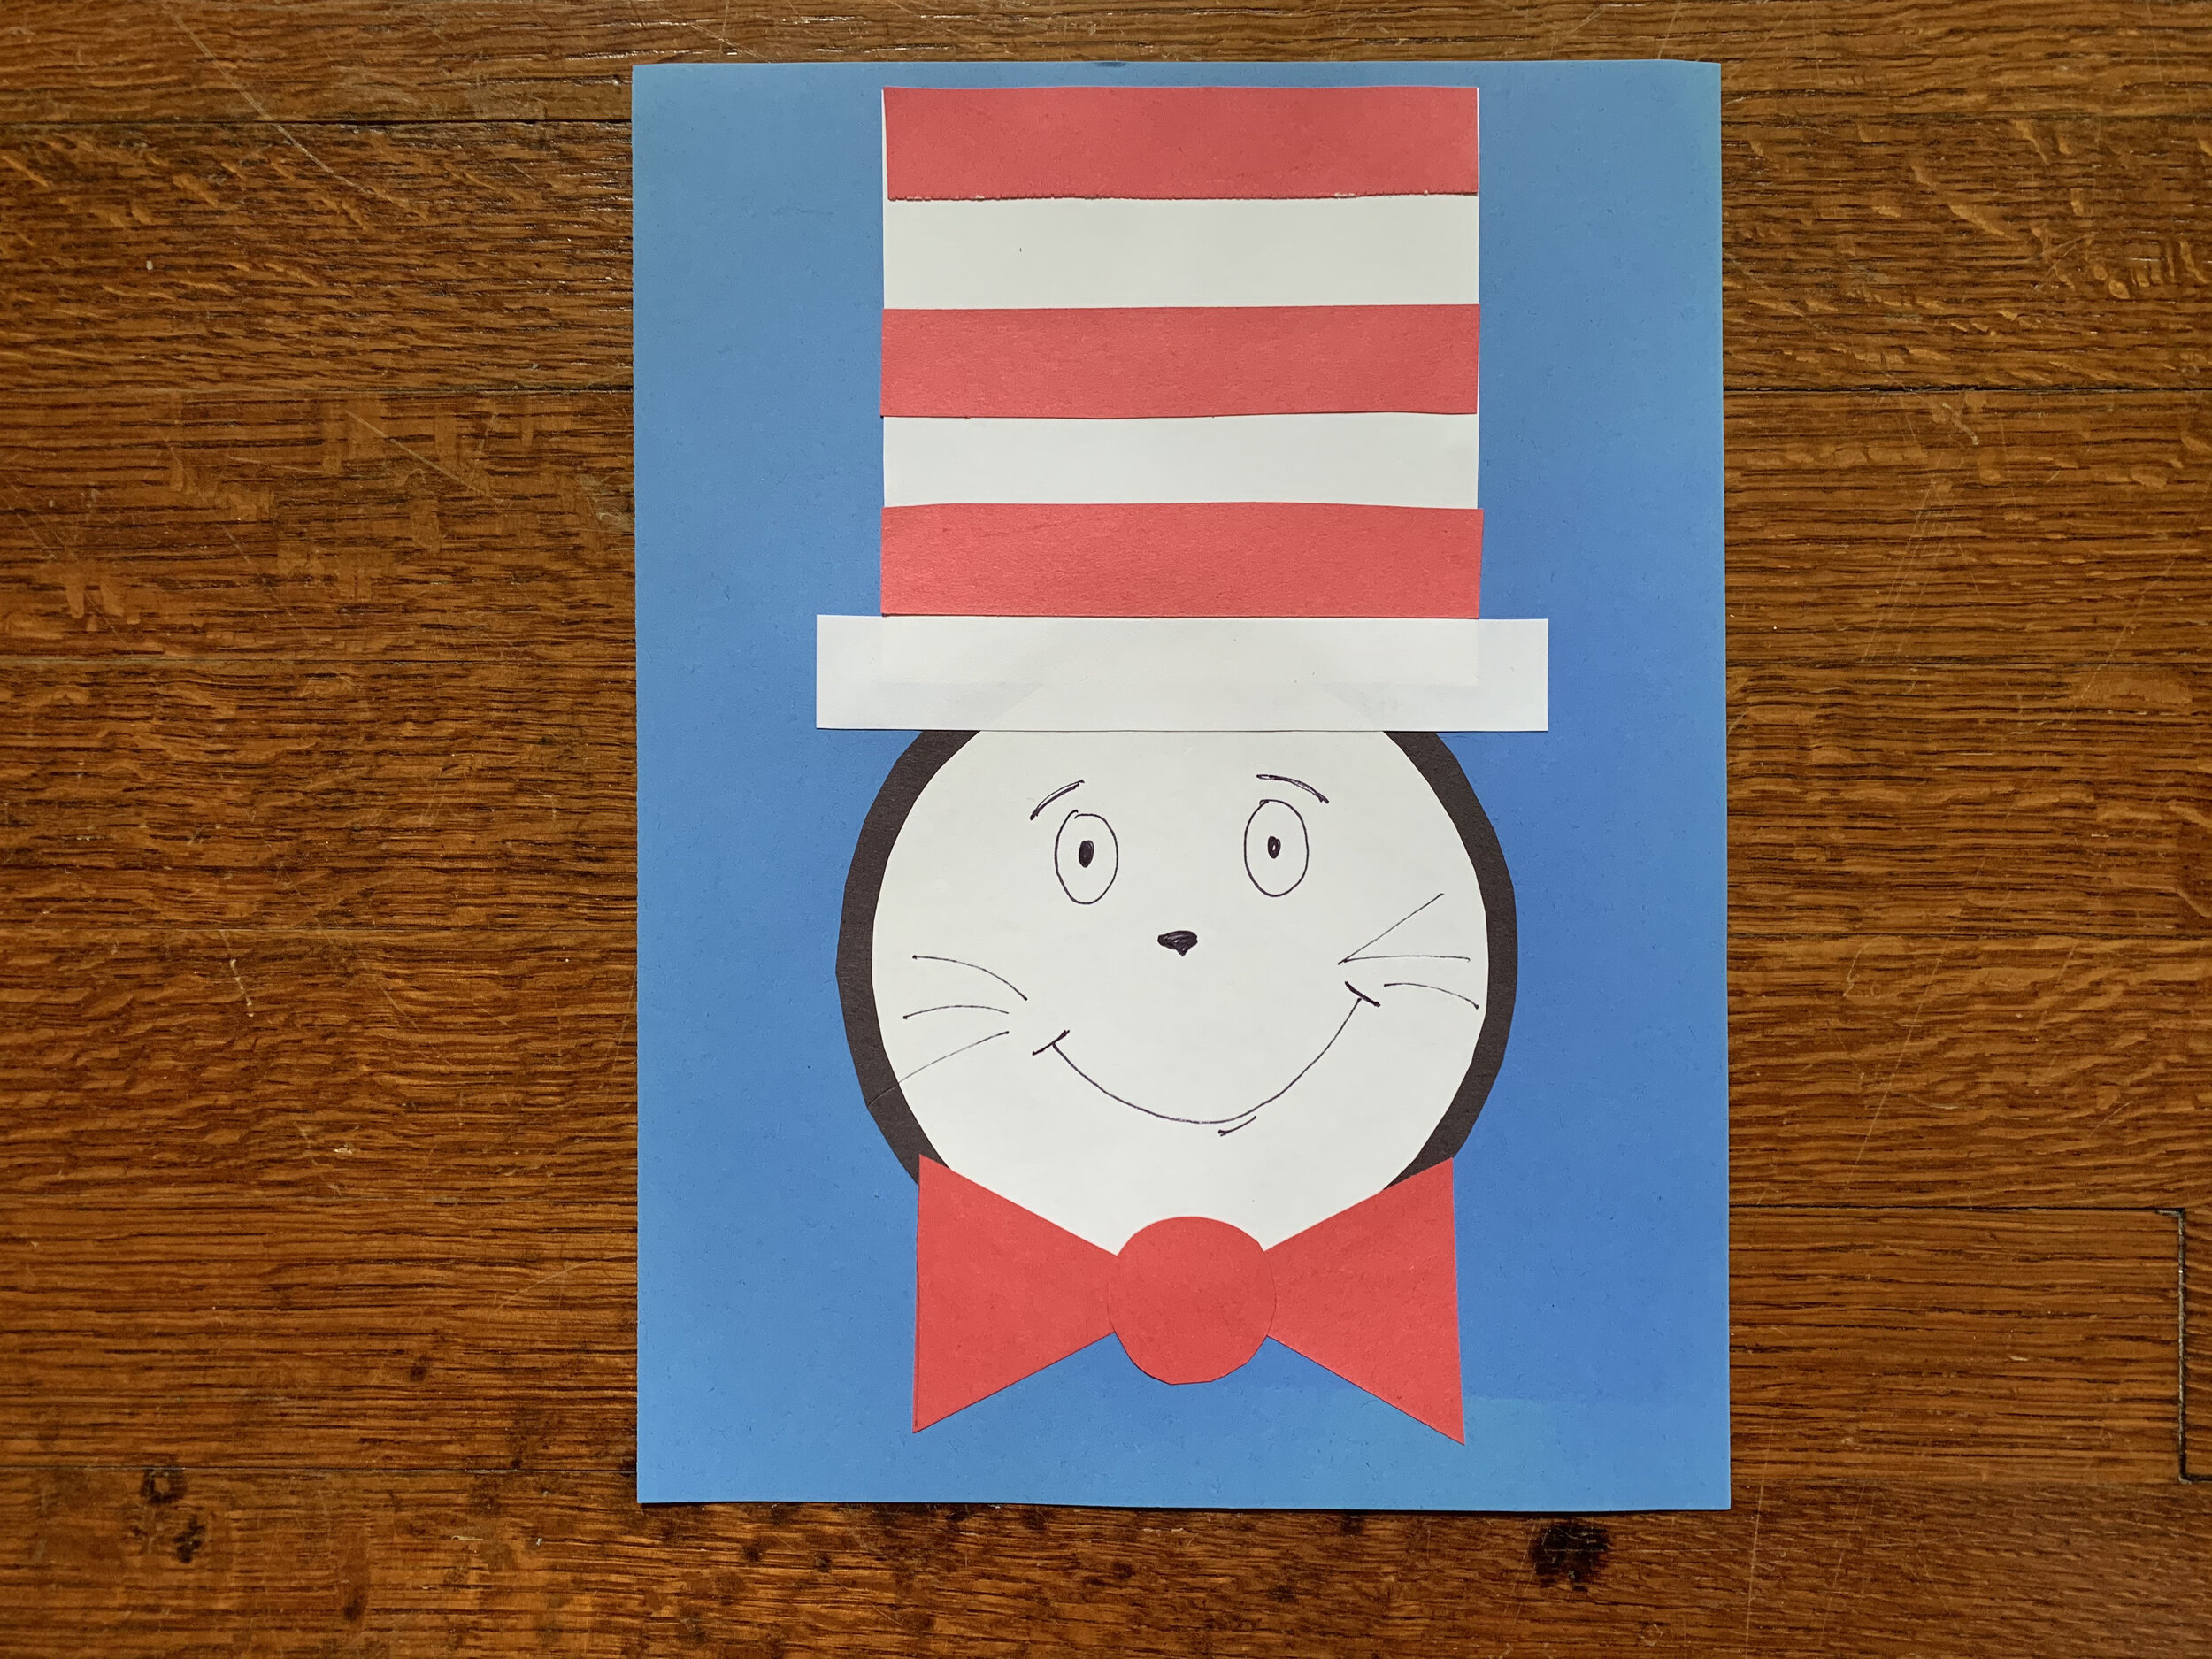
Step 7: Color your wand
Now to color your wand. We recommend acrylic paint, but whatever paint you use, it’s best to start with an all over base coat. Once that dries, then you can add additional colors to your wand. If you do not have paint available at home, you can always use markers or crayons to decorate your wand. If using those, we recommend coloring one side of your paper with a base color and your embellishment designs BEFORE you begin step 1. The colored side of your paper will be placed bottom down, and your tape and glue from steps 2 and 3 will be applied to the white, uncolored side of your paper. You can also use colored construction paper in place of white paper when available.